
6.4.3. Procedure – Creating a new DenyService
To create a new DenyService that prohibits access to certain services, complete the following steps.
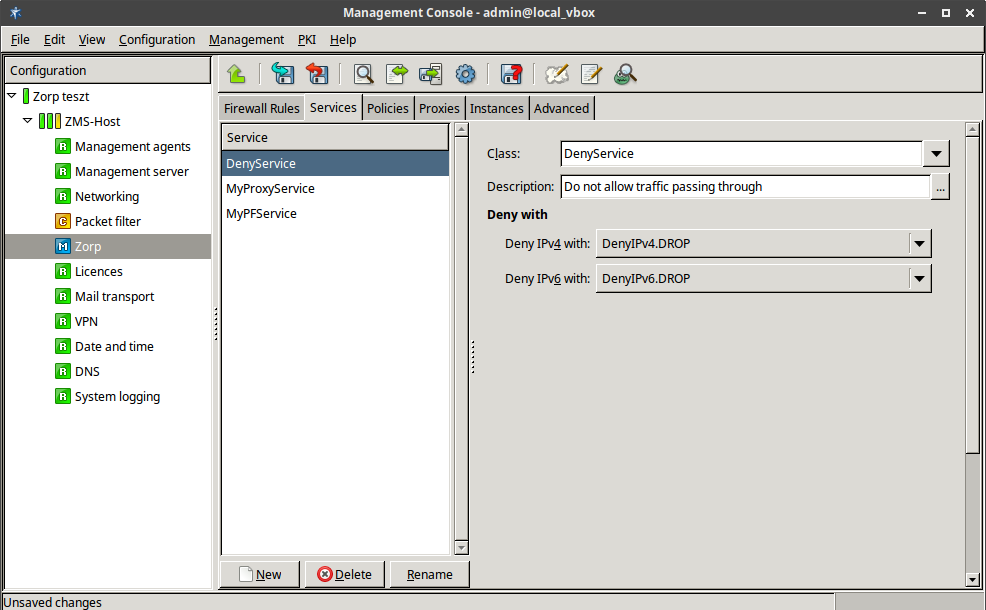
Navigate to the Services tab of the Zorp ZMC component and click .
Enter a name for the service into the opening dialog. Use clear, informative, and consistent service names. It is recommended to include the following information in the service name:
source zones, indicating which clients may use the service (for example,
intranet)the protocol permitted in the traffic (for example,
HTTP)destination zones, indicating which servers may be accessed using the service (for example,
Internet)
Tip Name the service that allows internal users to browse the Web
intra_HTTP_internet. Use dots to indicate child zones, for example,intra.marketing_HTTP_inter.Click
 in the field and select
 DenyService.To specify how Zorp rejects the traffic matching a DenyService, use the and options. By default, Zorp simply drops the traffic without notifying the client.
Commit your changes.
Published on May 30, 2024
© BalaSys IT Ltd.
Send your comments to support@balasys.hu
