
9.2.1. Procedure – Configuring NTP with ZMC
NTP has a separate configuration component in ZMC.
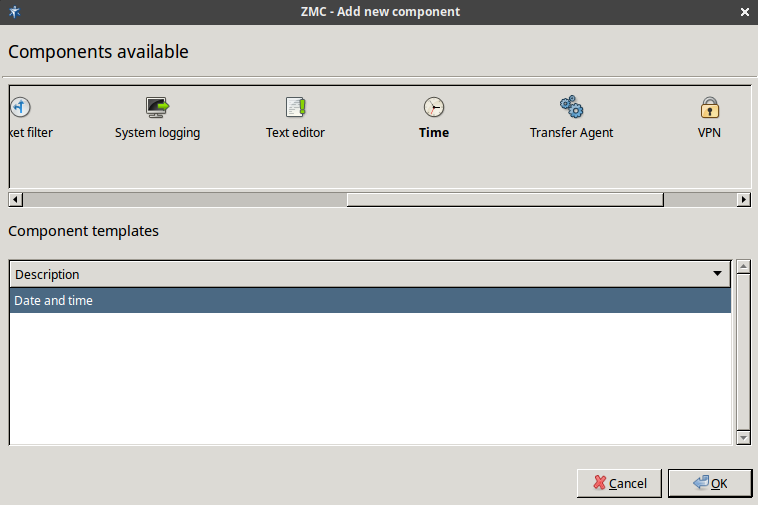
Add the
Timecomponent to the Zorp host in ZMC. It is recommended to select theDate and timetemplate.Name the component.
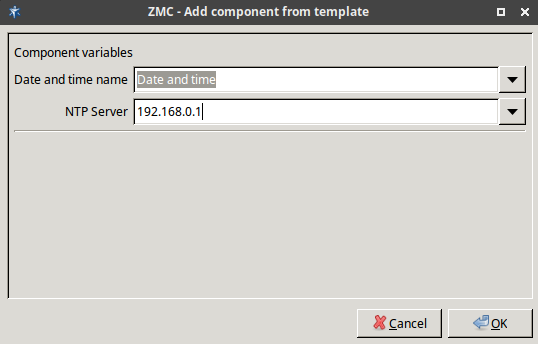
Specify a time server with which Zorp synchronizes its system time.
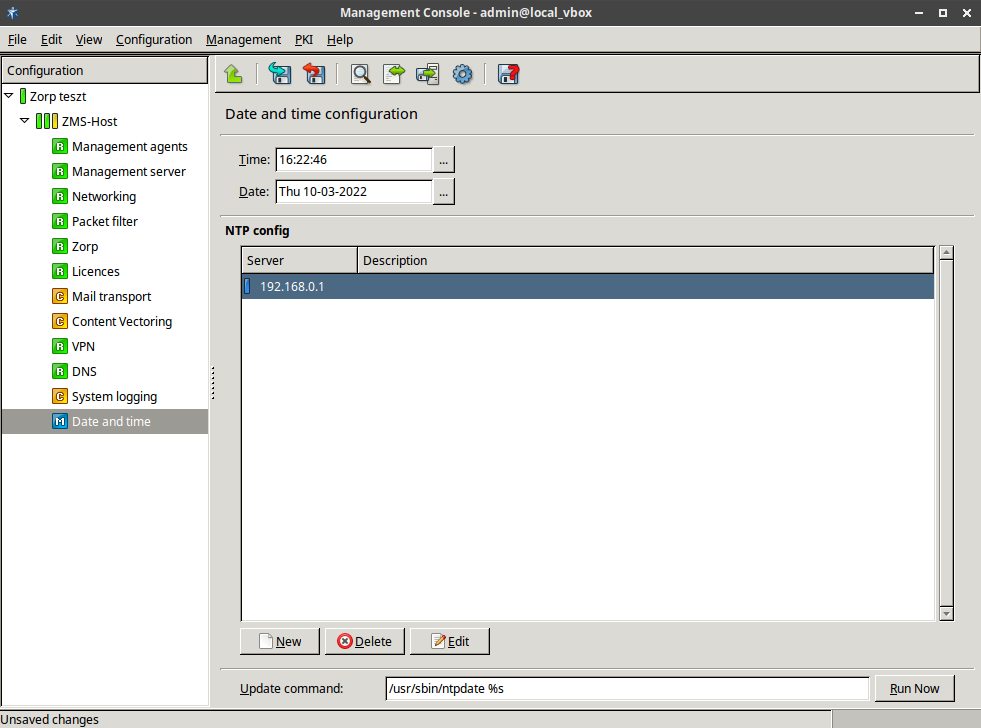
Configure the subcomponents. Date and time can be updated from the specified time server by clicking , or set manually.
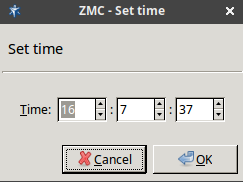
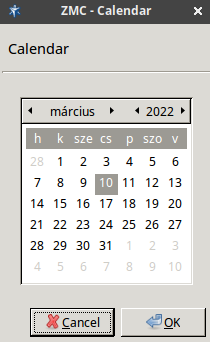
Set date and time information manually, using the three-dotted (...) button.
If the date and time values are set manually, a dialog box gives a warning that instead of setting these values manually, it is recommended to force an update from the configured timeserver with the ntpdate command. To synchronize the time to the time server, click the button in the bottom of the window.
It is recommended to use ntpdate instead of manually tuning date and time values because the Internet time is probably more accurate than other, local time sources.
If you want to permit your clients to synchronize their clocks to the Zorp host, enable the
ntplocal service. See Section 9.4, Local services on Zorp for details.List the NTP servers Zorp can communicate with.
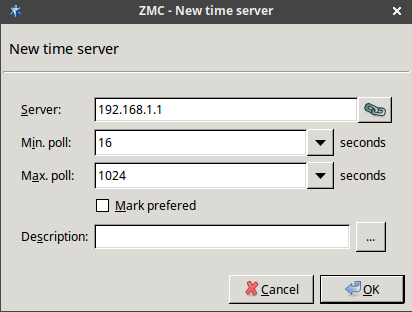
For time synchronization fault tolerance, It is recommended to add at least two servers to the list. Click and enter the address of the NTP server, as well as the interval when the clock of the Zorp host should be synchronized to the NTP server.
Published on May 30, 2024
© BalaSys IT Ltd.
Send your comments to support@balasys.hu
