
11.3.7.2. Procedure – Creating a new CA
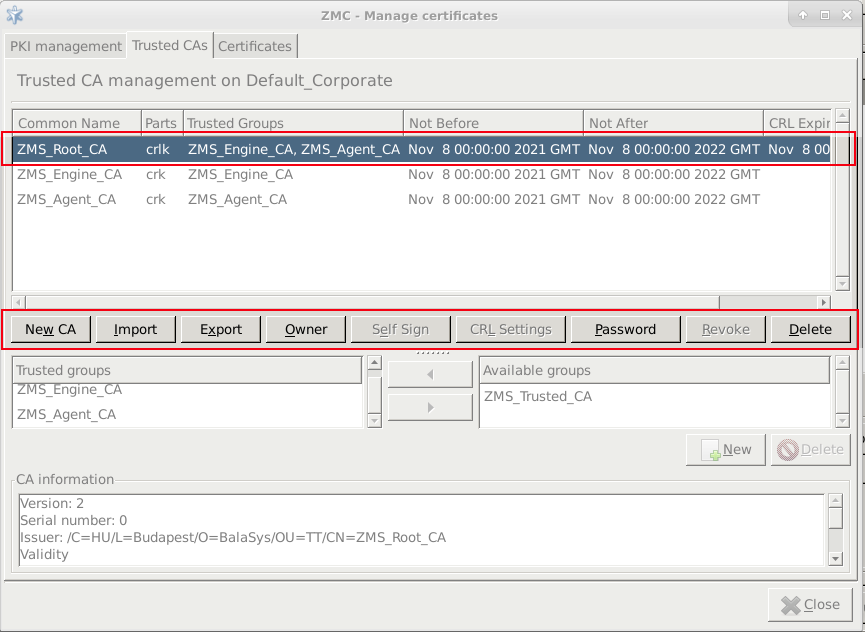
Navigate to the tab of the , and click on .
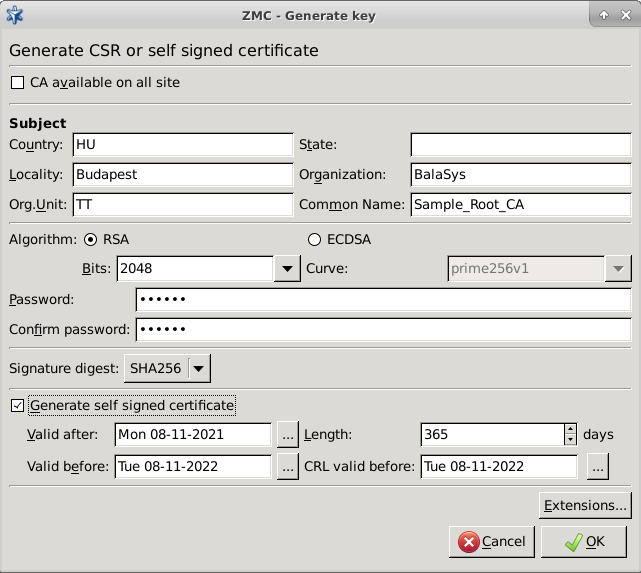
Enter the required parameters for the subject of the new CA's certificate. It is required that the CA has a unique , but is is also helpful if the is descriptive as well, as it helps to remember the CA's function later.
Select the encryption algorithm and key length to be used.
Tip The key of the CA certificate shall be longer than the ones that will be issued by the CA, for example, if the CA is used to sign certificates having 1024 bit keys, the key of the CA certificate shall be at least 2048 bit long.
Select the signature digest (hash) method to be used.
Tip Use of the SHA1 algorithm is recommended, as it is considered to be more secure and not significantly more computation intensive.
Provide a password to protect the private key of the CA. This is required so that only authorized users can sign certificates.
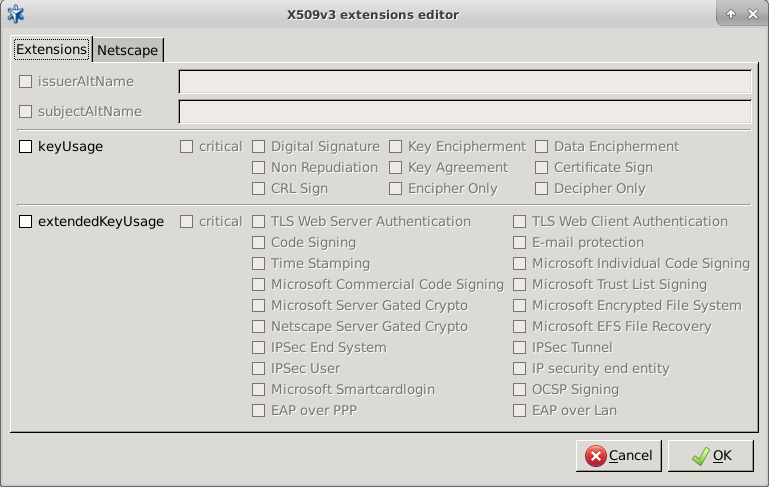
Click on , and specify for which purposes the certificate will be used.
Note The use of extensions is optional.
When creating a local root CA, check the checkbox and specify the validity period of the certificate.
Tip If the CA is to be available on every site managed, do not forget to check in the appropriate checkbox when creating the New CA.
Warning A CA available on a site, can be made available on all sites managed by ZMS, by checking in the checkbox. Making a CA certificate available on all sites cannot be reversed, that is, once a CA has been made available on all sites, later it cannot be limited to a single site.
Published on May 30, 2024
© BalaSys IT Ltd.
Send your comments to support@balasys.hu
