
12.7.2.1. Procedure – Configuring the Availability Checker
Complete the following steps in order to add Availability Checker component to the configuration.
Select the host in the configuration tree and click the button below the Components in use subwindow on the Host tab to add the Availability Checker component.
Choose the template and change the component name, if needed.
The Availability Checker component appears in the configuration tree.
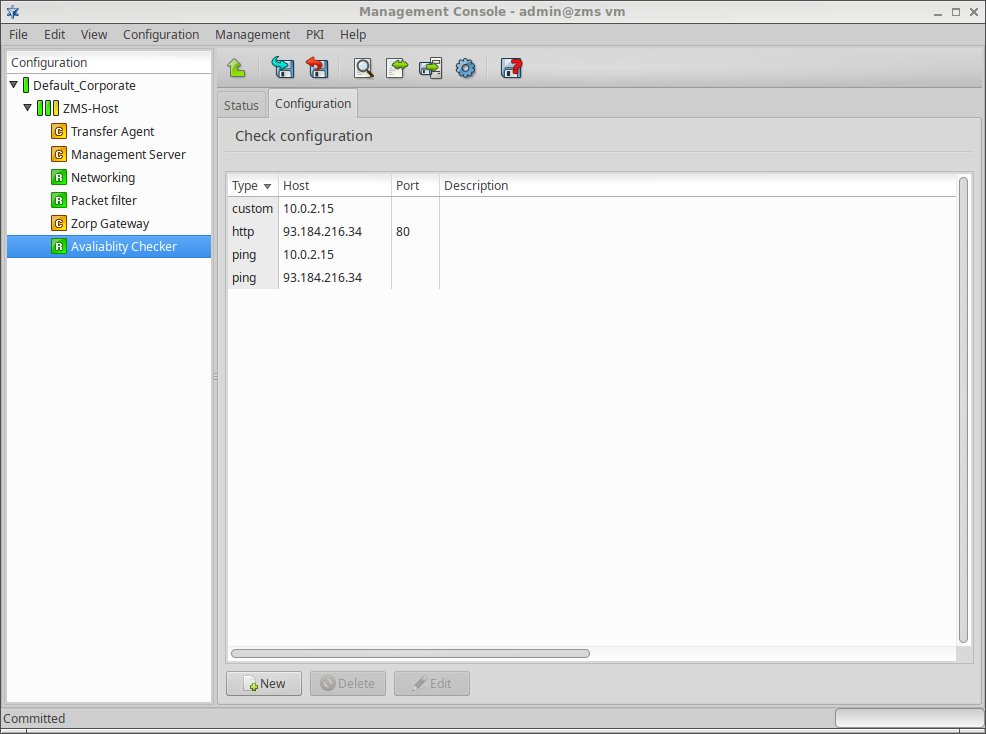
Set the configuration options for the Availability Checker component under the tab.
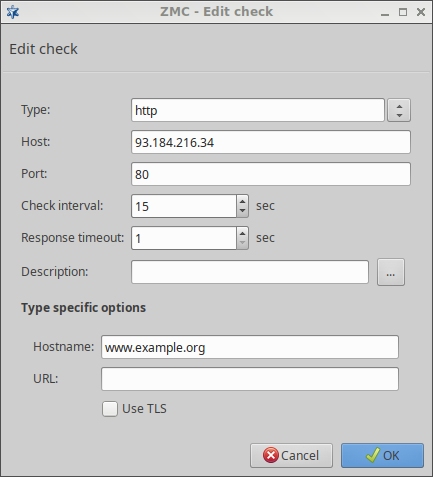
New, monitored target addresses can be added as new checks, specifying the followings:
the check method (Type)
host address
port
check interval
response timeout
other, method-dependent options
Apart from the ping, TCP, and HTTP methods, there is a custom type method which can use any executable program's return value. The returned values shall be set so, that the value zero shows success, the other values represent failure. Programs used in custom checks, get the Response timeout value as the value of the
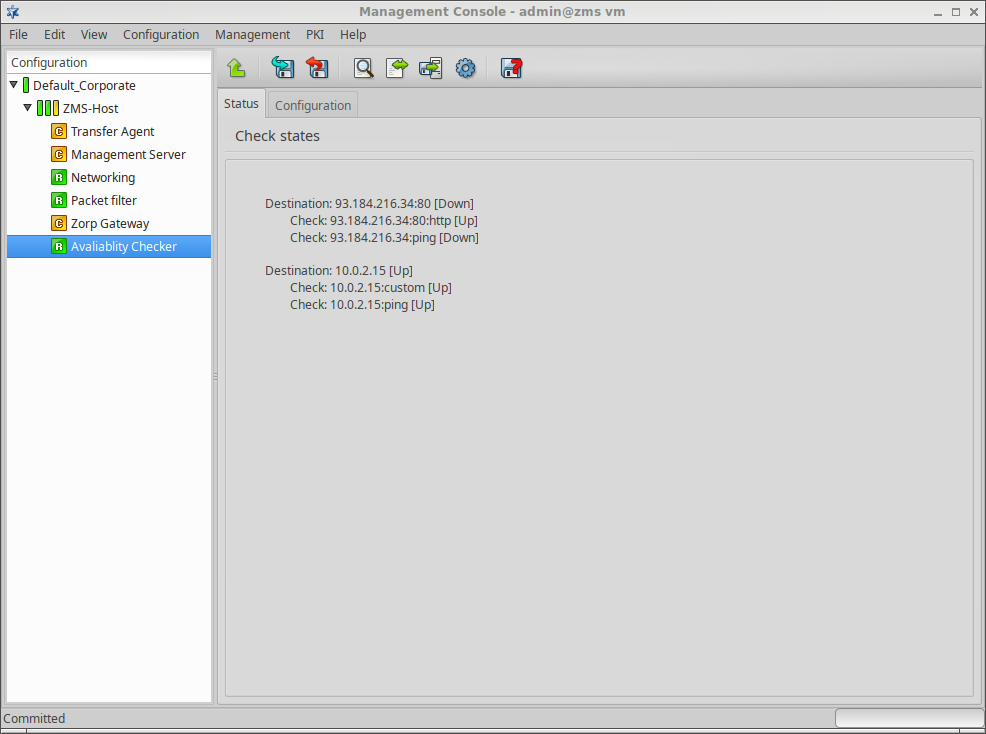
--timeout RESPONSE_TIMEOUTfirst command line parameter. Executable programs are terminated with the SIGTERM signal in 5 seconds after the timeout value has elapsed as set in theResponse timeoutparameter.Check the tab. Following the upload of the plugin configuration and the restart of the service, the Status tab shows the actual status of the checks. The status of each target address comes from the aggregated status values of the checks of the certain address.
Note The auto refresh time of the Status tab can be globally configured in the section of menu in option.
Published on May 30, 2024
© BalaSys IT Ltd.
Send your comments to support@balasys.hu
