
6.6.1.1. Procedure – Derive a new proxy class
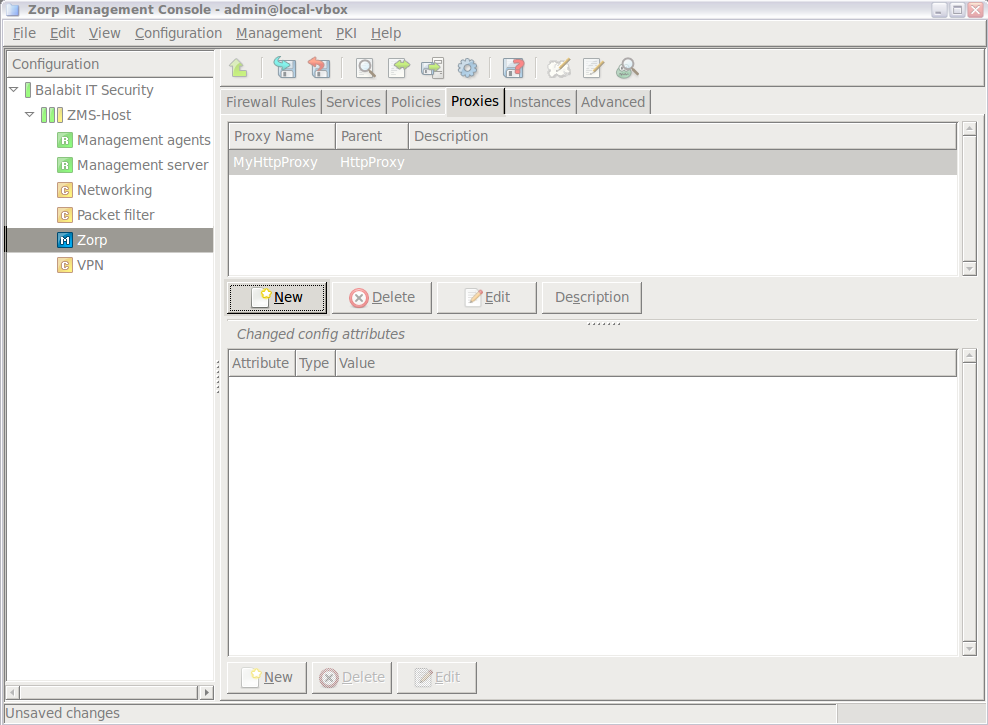
Select the tab of the
Zorpcomponent.The Zorp class configuration window that appears is empty by default.
Click .
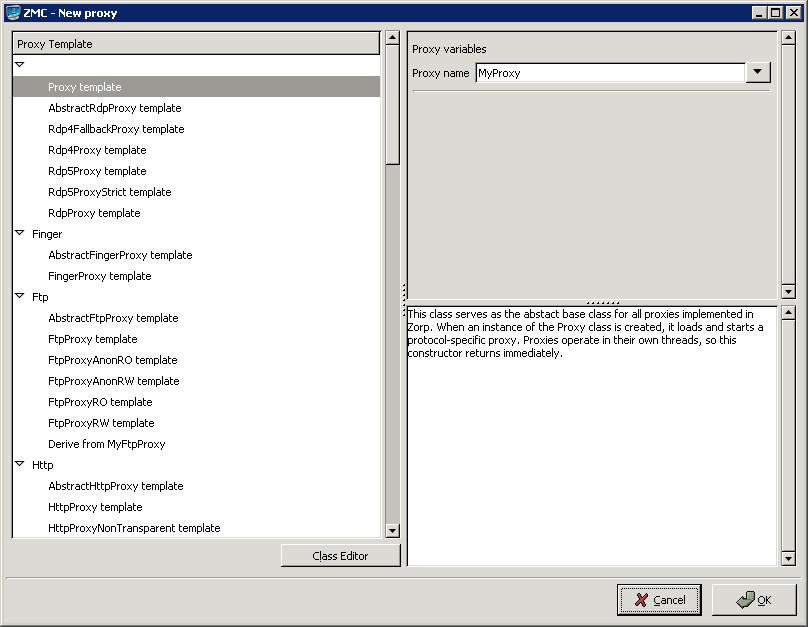
Select a predefined proxy class template for the customized proxy class.
Proxy class names are typically descriptive, but most of them come with a detailed description as well. For more details, see the Zorp Professional 7 Reference Guide. These descriptions either explicitly tell what the given proxy class is for, or suggest attributes of the class that can be configured to achieve a special purpose.
Enter a name for the new proxy. It is recommended to use capital names that imply the functions the proxy is responsible for, for example
VirusHTTPorHTTPSproxy.Add the attributes to be configured and modify attribute values for the given class. For details, see Procedure 6.6.1.2, Customizing proxy attributes.
Note To have the new proxy class fully functional, you have to configure it as a service parameter of the given service.
Published on May 30, 2024
© BalaSys IT Ltd.
Send your comments to support@balasys.hu
