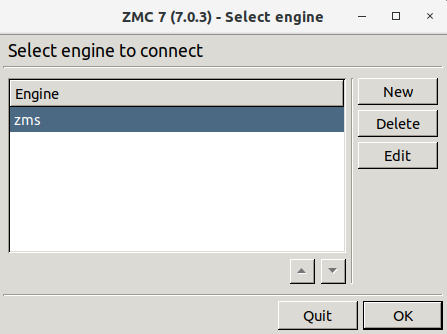
ZMC itself is just a graphical frontend to ZMS. It is ZMS that stores configuration information and manages connections with the agents on managed hosts. The ZMS-based firewall management can only be performed through ZMC; there is no console alternative. ZMC is not “bound” to a particular ZMS host, as long as the proper username/password pair is known, it can be used to connect to any ZMS host.
ZMC can be started the following way:
Windows: Locate the Zorp folder in the menu and click on the icon. If no such folder has been created when ZMC was installed, start
zmc.exemanually from the installation folder.Linux: Start ZMC from the or menu of the desktop environment, or from the console by executing the following command: ./<installation-directory>/bin/zmc.
When ZMC is first started after the installation, the list of reachable ZMS hosts is empty, therefore a new host must be defined. To define a new host, click . ZMC configurations are stored in a folder named .zmsgui. This folder (for the Windows version of ZMC) is created in the installing user's profile directory, which is typically %systemroot%\Documents and Settings\%username%. The name of the file that stores ZMC configurations is zmsgui.conf. The Linux version of ZMC stores configuration information in the same manner, within the user's home directory.
Expected outcome:
After entering the correct password, if network connectivity is provided, a greeting appears on the ZMC main screen.
| Note |
|---|
When ZMC connects to a ZMS engine for the first time, it displays the SSH-style fingerprint of the ZMS host. During later connections, it checks the fingerprint automatically. |
| Warning |
|---|
ZMC and the ZMS to be accessed must have matching version numbers, that is, ZMS 7.0.1 must be accessed with ZMC 7.0.1. Login is not permitted if the version number of ZMS and ZMC is different. |
Published on May 30, 2024
© BalaSys IT Ltd.
Send your comments to support@balasys.hu


