
7.2.3. Procedure – Configuring TLS-encrypted logging
Purpose:
To encrypt the communication between the Zorp host and your central syslog server, complete the following steps.
Steps:
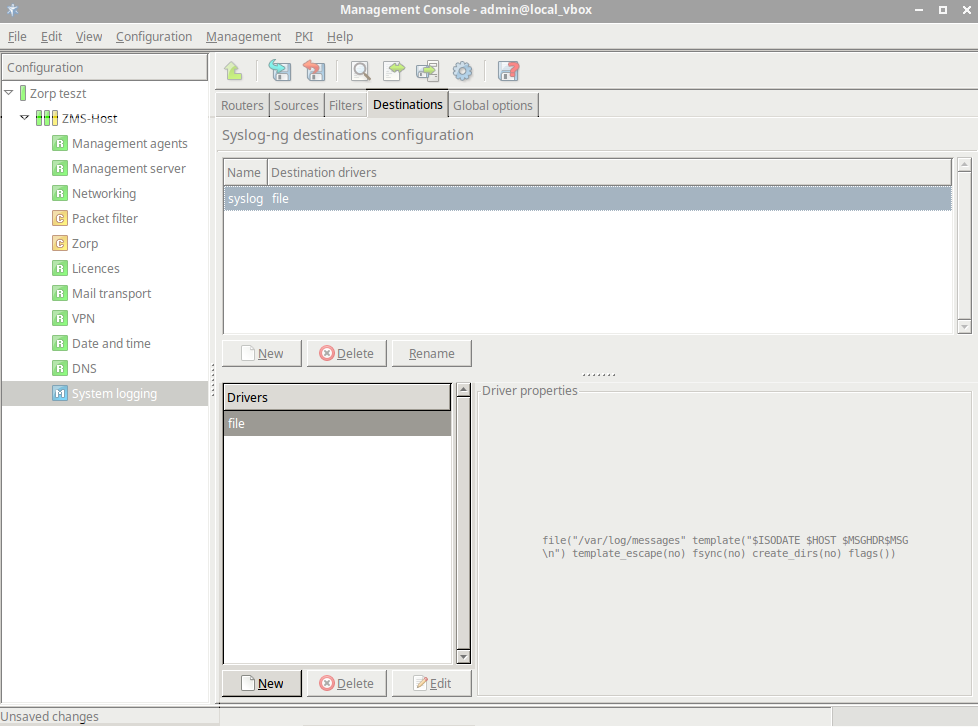
Navigate to , and enter a name for the new destination (for example,
tls-logserver).Select , then .
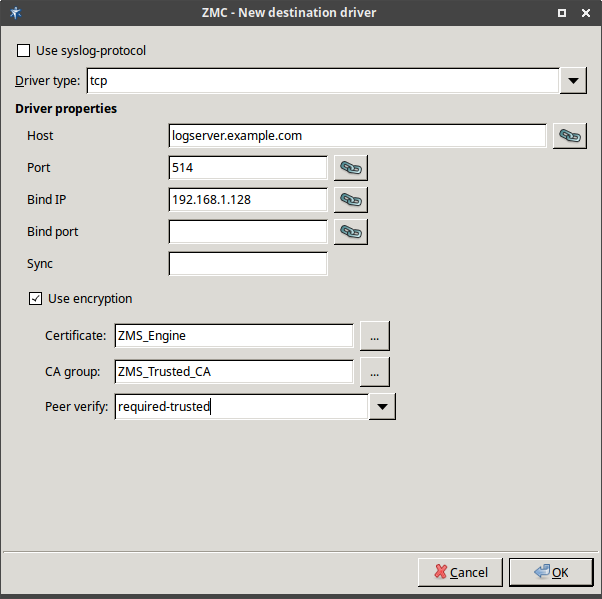
Set the option to enabled, if you want the messages to be formatted according to the new IETF syslog protocol standard (RFC5424).
Set the hostname and the port of your logserver in the and fields.
Select the network interface of Zorp that faces the logserver from the field.
Select .
If your logserver requires mutual authentication, that is, it checks the certificates of the log clients, select the certificate Zorp should show to the logserver from the field.
Select the trusted CA group that contains the certificate of the CA that signed the certificate of the logserver from the field.
By default, Zorp will verify the certificate of the logserver, and accept only a valid certificate. It is possible to have less strict criteria by modifying the option. For details on the possible values, see Section 3.2.5, Certificate verification options in Zorp Professional 7 Reference Guide.
Click .
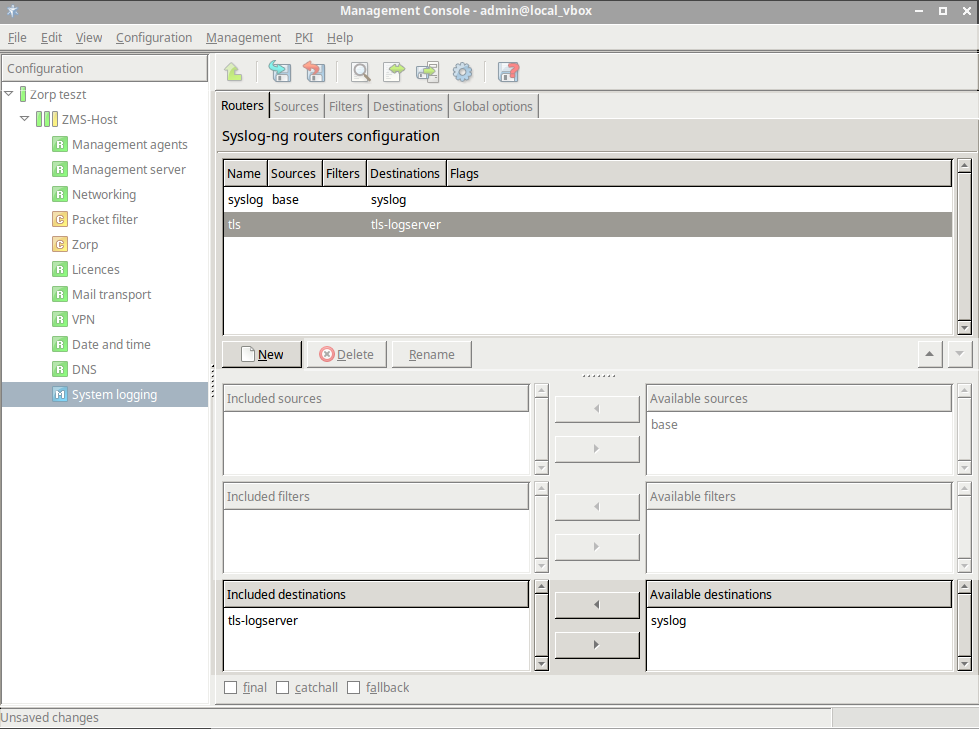
Select the tab, add a new router and name it, for example, to TLS.
Add the earlier defined new destination to this router.
Published on May 30, 2024
© BalaSys IT Ltd.
Send your comments to support@balasys.hu
