
9.3.1.1. Procedure – Configuring Postfix with ZMC
Add the
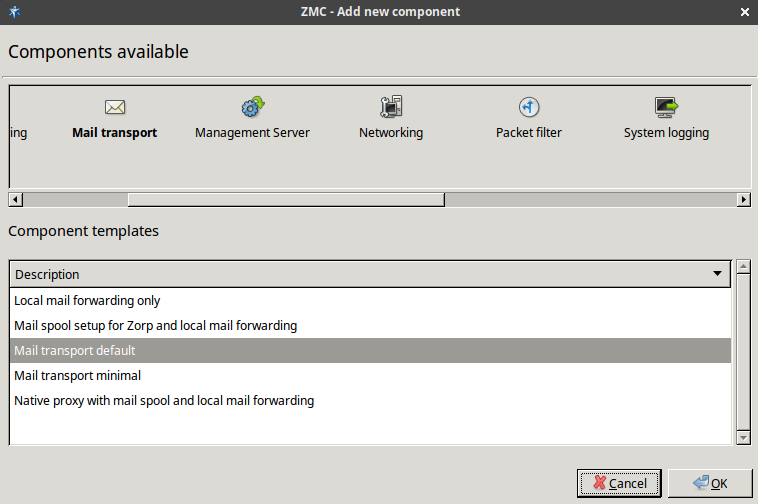
Mail transportcomponent to the Zorp host in ZMC. Select a template suitable for your needs, for example, theMail transport defaulttemplate.Open the configuration tabs.
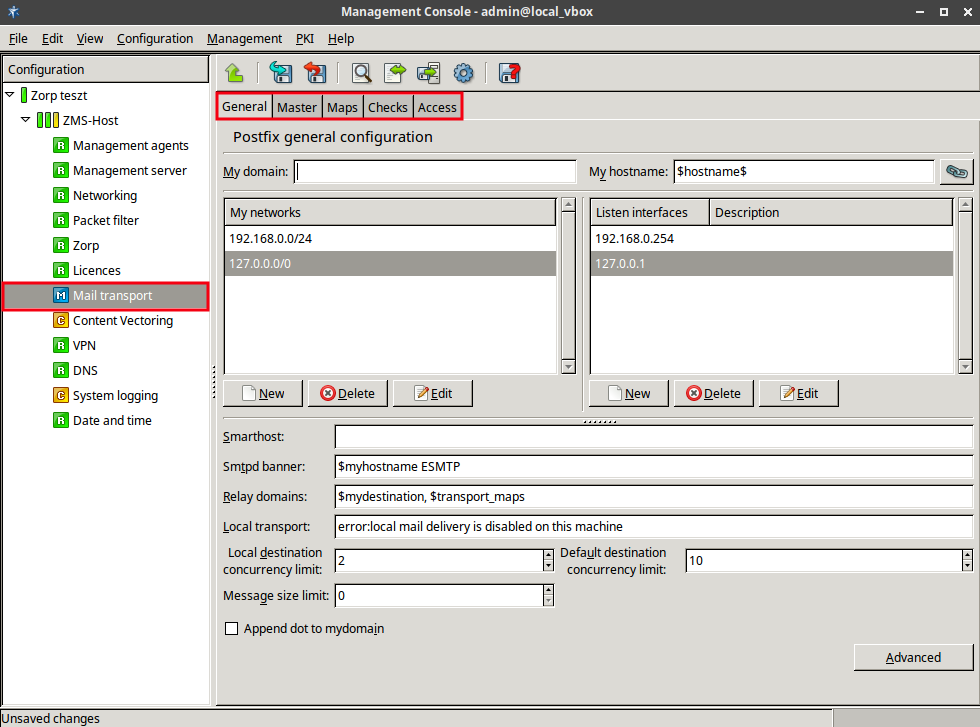
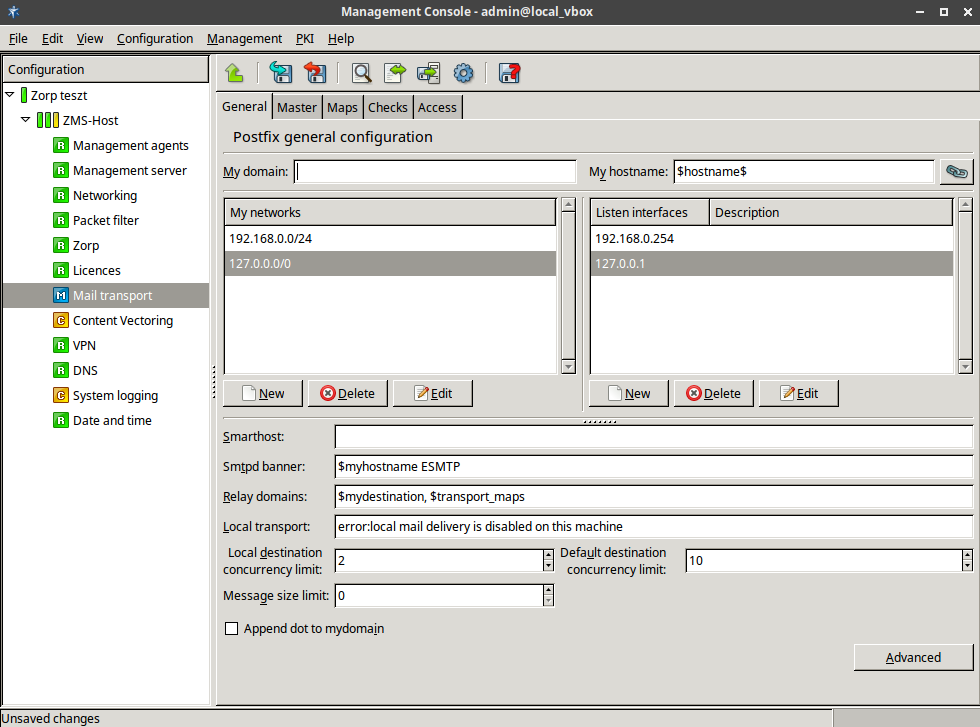
Specify parameters in the tab.
Provide .
It specifies the DNS domain of Zorp which, in turn, defines what domain it receives mail for. Receiving mail for other domains is also possible. For details, see Appendix C, Further readings for a reference on mail administration.
Enter .
It is the name of Zorp, exactly as it is registered in DNS. The MX record in DNS must point to this name, so it is important to specify it correctly.
Provide .
It specifies what IP networks Postfix accepts outgoing mail from, in other words, for which networks it acts as a mail relay.
Note Unless explicitly required by your networking requirements, do not to list all your internal networks. It can result in all your hosts being able to send mails individually and directly, which might not be optimal from security point of view. For example, viruses usually contain an SMTP component for sending mail that should not be let through the firewall.
If you only have a single mail server for handling external SMTP messages, list the mail server's single IP address. Correspondingly, list only those network interfaces of Zorp as Listen interfaces, on which you want to handle incoming mail traffic.
The rest of the parameters on the tab are more special settings and their use depends on the configuration needs.
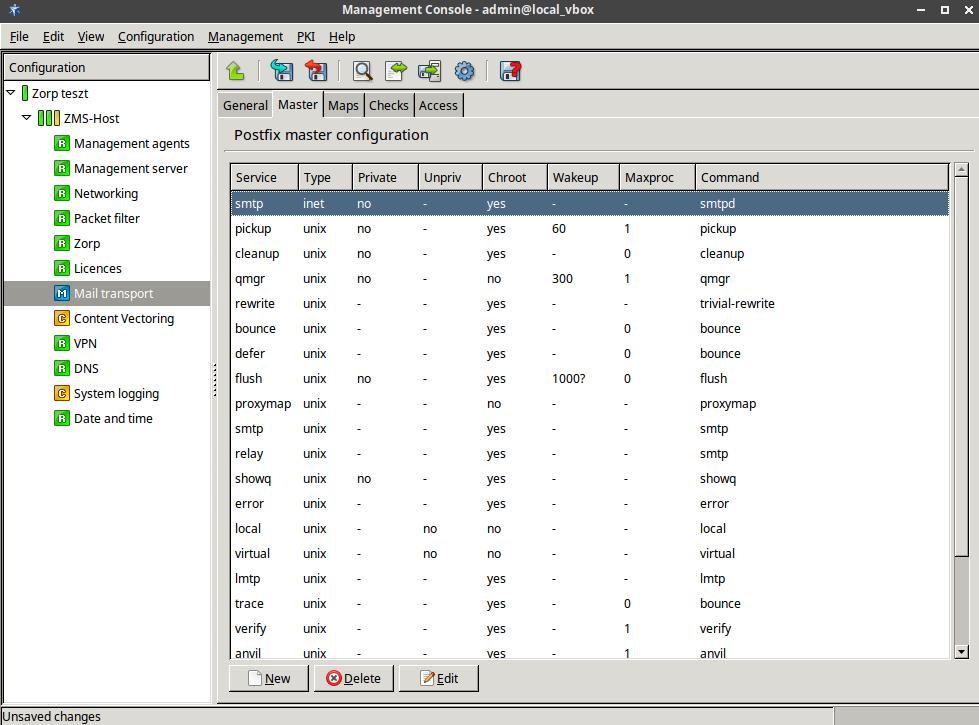
Configure settings on the tab.
Configure the settings if you have a Mail Scanner or Amavisd-new–based antivirus solution.
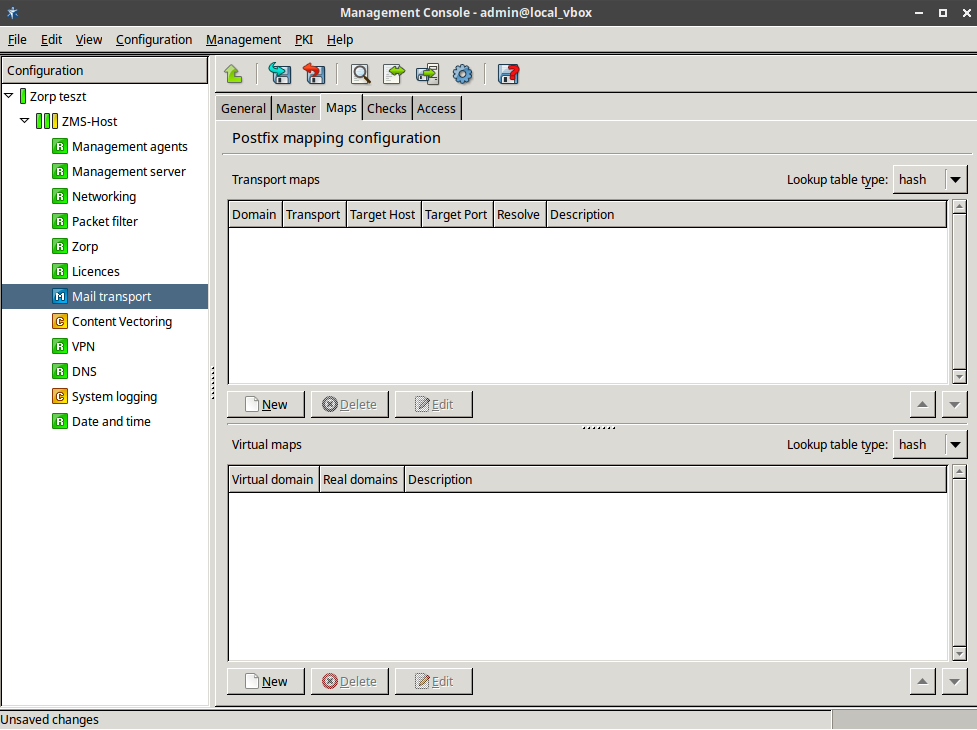
The tab of the Mail transport component corresponds to the
/etc/postfix/master.cffile.Configure settings on the tab to add transport and virtual maps to Postfix.
In order to route incoming mail from Zorp to different, internal mail domains, an SMTP transport map can be provided, with the IP address of the real, internal mail servers serving the given mail domains.
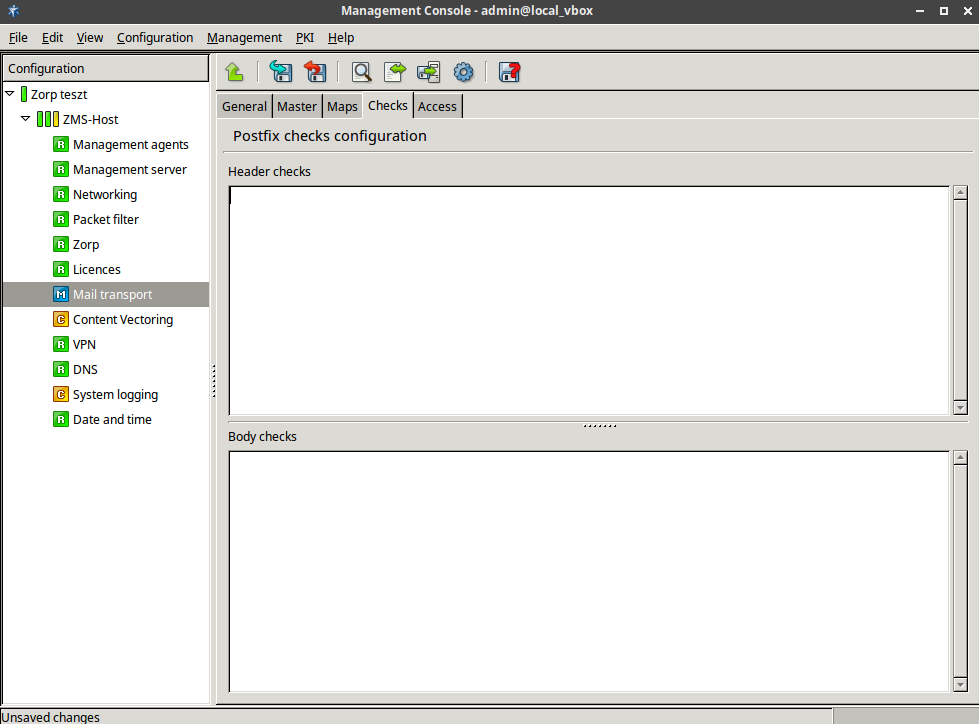
Configure the tab.
This tab covers two Postfix configuration files,
/etc/postfix/header_checksand/etc/postfix/body_checks. The method of the address checking can be either hash or regular expression (regexp). This can be selected from the combobox.Configure the tab.
In parallel with , this tab covers
/etc/postfix/recipient_accessand/etc/postfix/sender_access.To permit access to the Postfix service, enable the
smtplocal service. See Section 9.4, Local services on Zorp for details.Note Choose the zones that are allowed to access the Postfix service carefully.

Published on May 30, 2024
© BalaSys IT Ltd.
Send your comments to support@balasys.hu
