
6.4.2. Procedure – Creating a new PFService
To create a new packet-filter service that inspects a traffic on the packet level, complete the following steps.
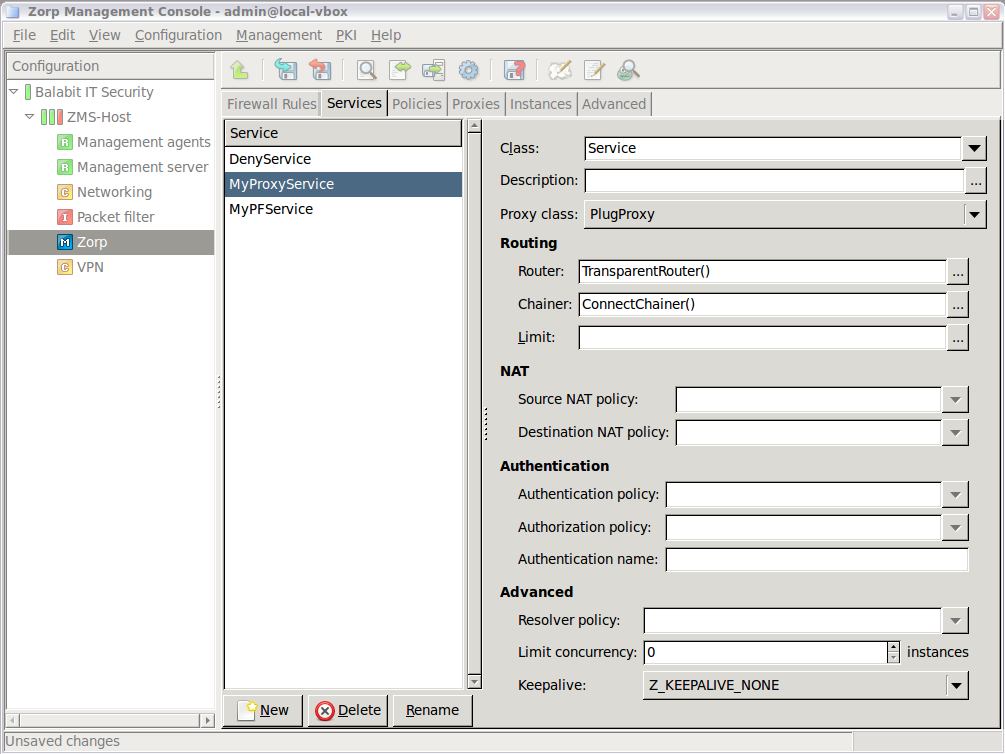
Navigate to the Services tab of the Application-level Gateway MC component and click .
Enter a name for the service into the opening dialog. Use clear, informative, and consistent service names. You are recommended to include the following information in the service name:
Source zones, indicating which clients may use the service (for example,
intranet).The protocol permitted in the traffic (for example,
HTTP).Destination zones, indicating which servers may be accessed using the service (for example,
Internet).
Tip Name the service that allows internal users to browse the Web
intra_HTTP_internet. Use dots to indicate child zones, for example,intra.marketing_HTTP_inter.Click
 in the field and select
 PFService.To spoof the IP address of the client in the server-side connection (so that the target server sees as if the connection originated from the client), select the option.
Note For IPv6 traffic, the PFService will always spoof the client address, regardless of the setting of the option.
To redirect the connection to a fixed address, select , and enter the IP address and the port number of the target server into the respective fields. You can use links as well.
Optional Step: In the section, the Network Address Translation policy used to NAT the address of the client (SNAT), the server (DNAT), or both. For details, see Section 6.7.5, NAT policies.
Note To remove a policy from the service, select the empty line from the combobox.
Note NAT policies cannot be used in PFServices for IPv6 traffic.
Commit your changes.
Published on June 04, 2020
© 2007-2019 BalaSys
Send your comments to support@balasys.hu
