
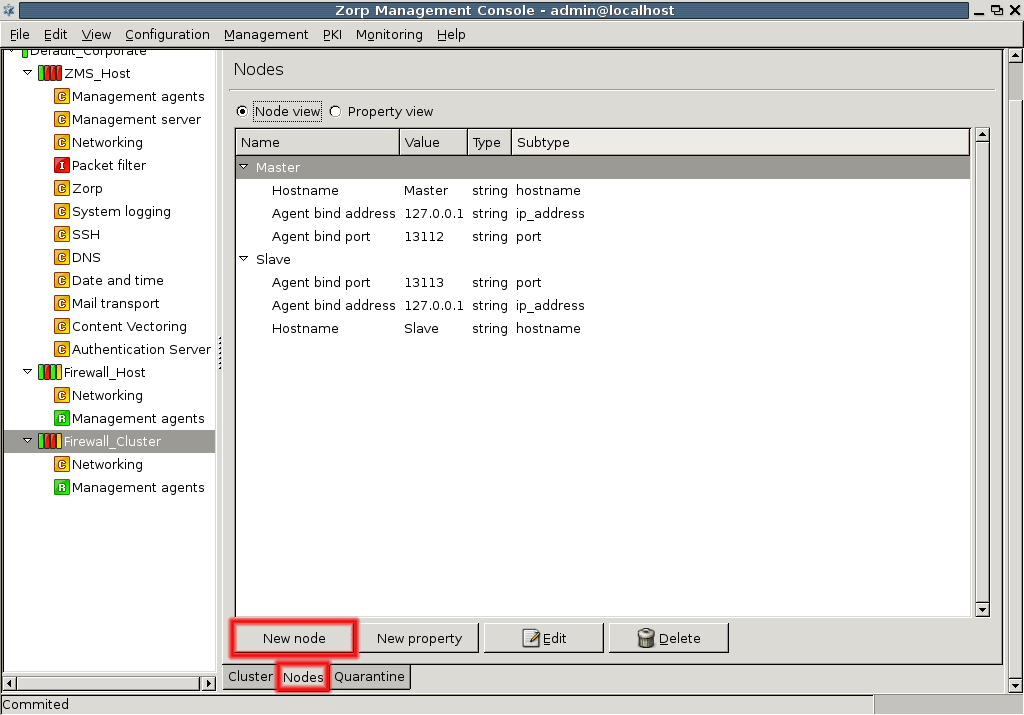
12.4.3. Procedure – Adding a new node to a PNS cluster
Click the button on the tab of the cluster.
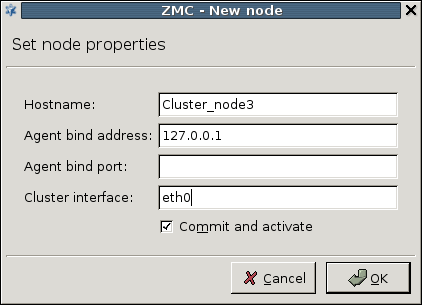
Set the properties of the new node in the appearing window. Enter hostname, agent bind address and bind port, and any other properties that have been added to the cluster.
Tip You are recommended to use the default port setting.
Do not forget to check the checkbox to automatically commit the changes and connect to the new node. If this checkbox is not selected when the new node is created, the configuration must be committed into the MS database manually. Also, the node cannot be connected automatically, only through a recovery connection (see Procedure 13.3.4, Configuring recovery connections).
If you create a fail-over cluster, usually the second node is configured to be the slave node.
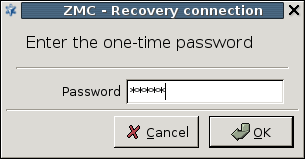
Enter the one-time password.
Click the button if the password is correct to build up the connection.
A standalone text informs you again of the background procedures. Save the output with the button so that it can be analyzed later if needed. The text window should look similar to this.
Note You can check the status and connections of cluster nodes by selecting the item in the menu.
After bootstrapping a cluster and adding new properties you can freely add the necessary components and configure the nodes according to your needs. Basically, the configuration procedure is similar to a PNS host configuration. When configuring clusters using the component, proceed to Section 12.5.3, Configuring Heartbeat.
Published on June 04, 2020
© 2007-2019 BalaSys
Send your comments to support@balasys.hu
