
6.6.1.2. Procedure – Customizing proxy attributes
What attribute-level configuration is needed depends on the exact requirements: if you simply need an FTP proxy that denies upload (write) requests, use the FtpProxyRO without modifications in your policy definitions – deriving a new class is unnecessary in this case.
However, if you would like to hide the browser type and operating system version information of your clients you can do it with a derived proxy class, by customizing some of its attributes. To hide browser type and operating system version information for instance, the creation of a custom User-Agent header is required. Although this may be accomplished on the client side (modifying all client web browsers), it is much easier to do with PNS.
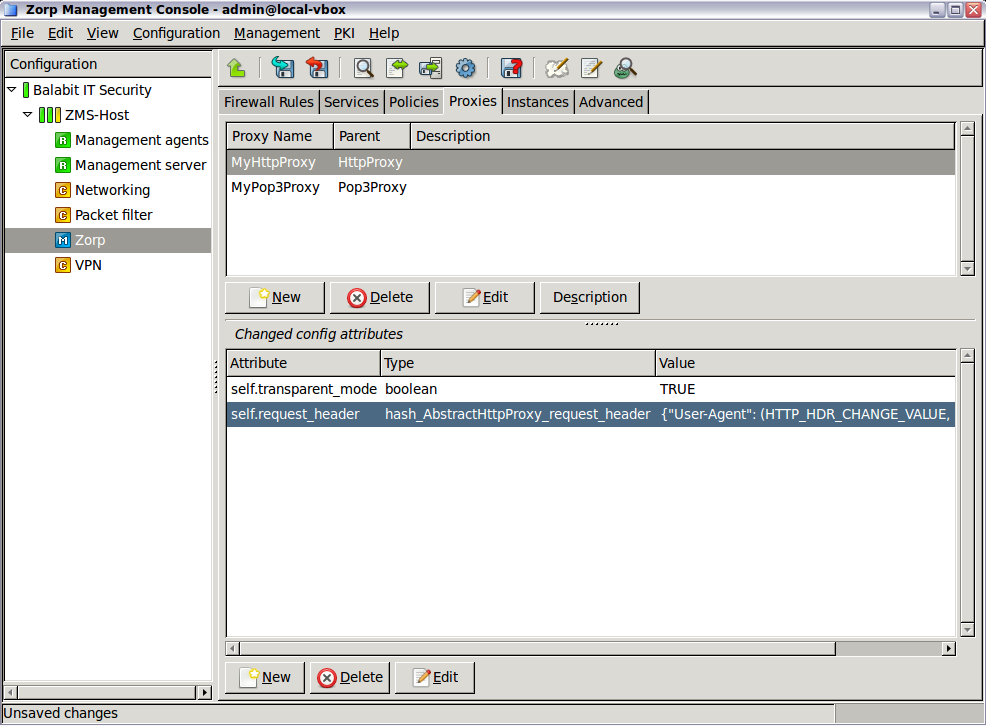
The attributes configuration screen is divided into two main parts.
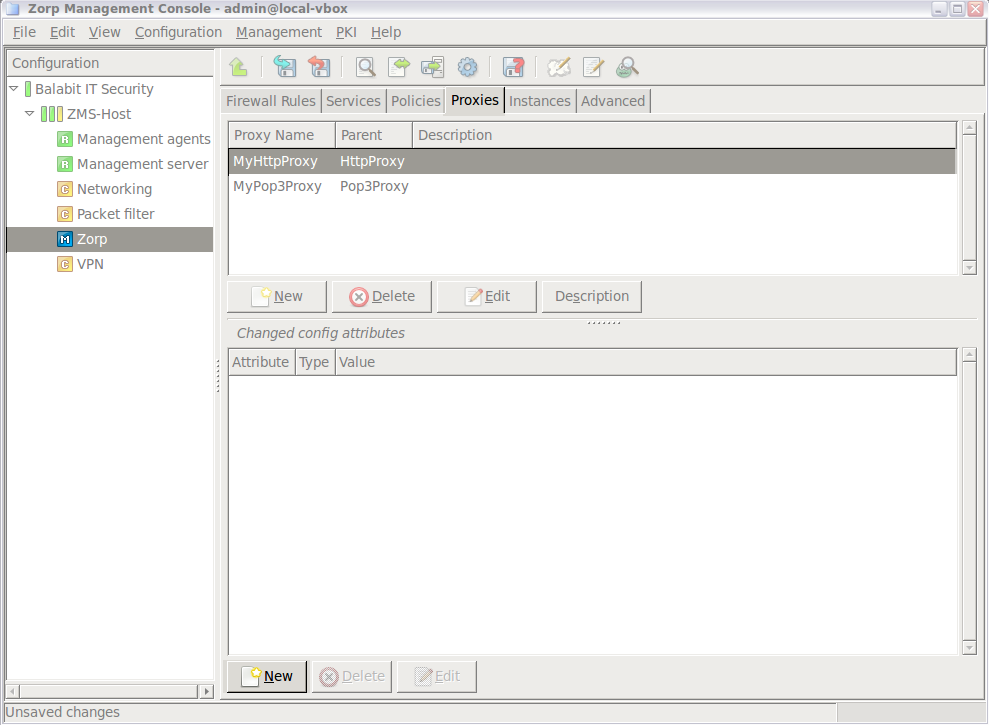
The upper textbox shows the list of custom, derived proxies along with the classes they were derived from (the Parent column). For the previous screenshot a simple HttpProxy, called MyHttpProxy was derived from the generic HttpProxy class.
Navigate to and select the proxy to customize.
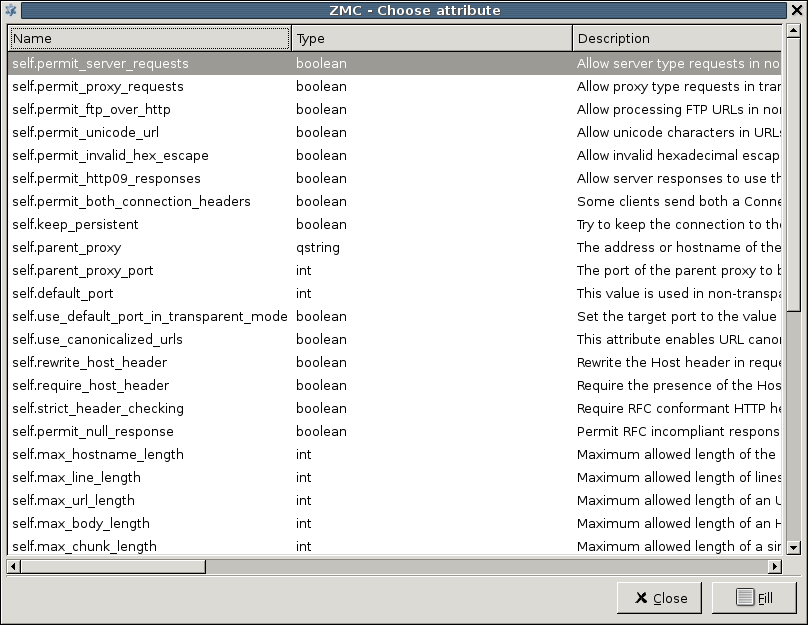
Click under the lower table. The list of configurable attributes are displayed.
Note A short description for each attribute is also displayed. For a complete description of proxy classes and attributes see the Proxedo Network Security Suite 1.0 Reference Guide.
There are syntax rules for setting attributes properly. For more information on these rules, see the Proxedo Network Security Suite 1.0 Reference Guide or, to a limited extent, read all the available descriptions on the class selection screen.
Tip AbstractProxy template descriptions are especially useful, since they contain the most information on syntax. For example, to set HTTP request headers in the traffic, see Section 4.7.2.2, Configuring policies for HTTP requests and responses in Proxedo Network Security Suite 1.0 Reference Guide.
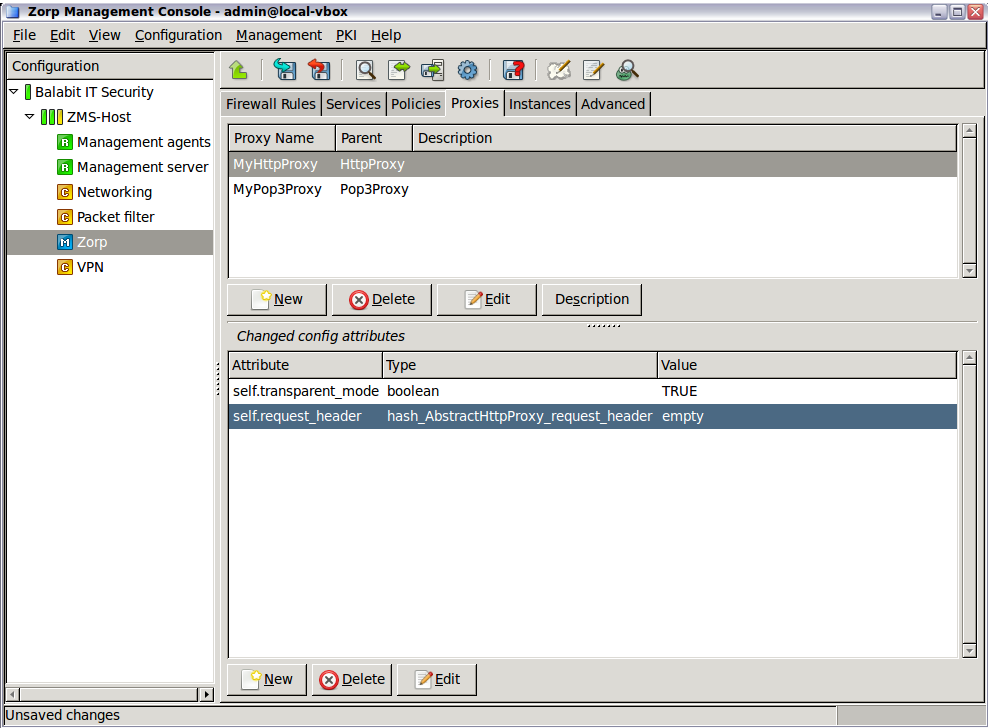
Select
self.request_headerattribute.The attribute appears in the listing of the Application-level Gateway class configuration screen.
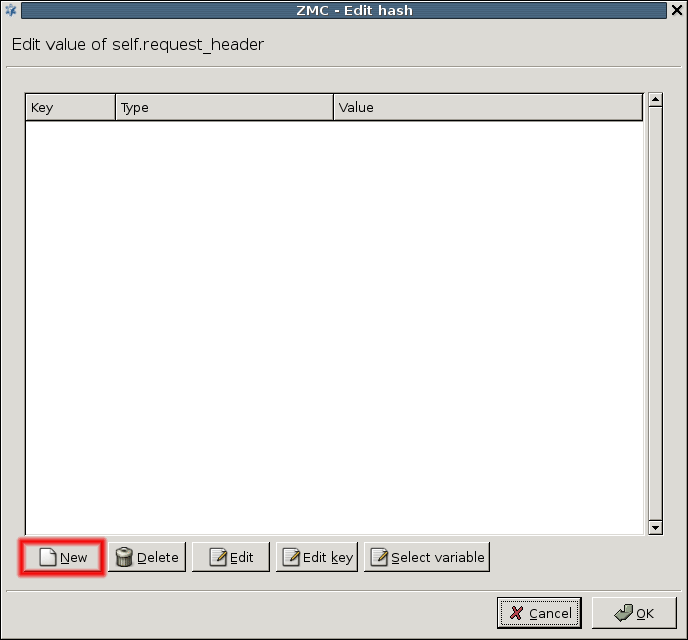
Set the value of the attribute by clicking . (Attribute Type is less relevant now.) A new window opens which is, by default, empty.
Click the button to define the name of the parameter you want to change.
In this example HTTP request headers are configured. These are standardized in the corresponding RFC documentation or in any reliable book on web server administration/programming.
One of the request headers is called
User-Agentwhich is the place to specify browser type and version and operating system information. Popular statistics, such as the market share of web browsers, are based on this request header.By default, Application-level Gateway takes the original
User-Agentheader information it receives from clients and uses the same value in http requests it generates.Enter
User-Agentin the small dialog box to change the default behavior.You can see the name of the header changing (Key column), but Type and Value columns still need to be changed.
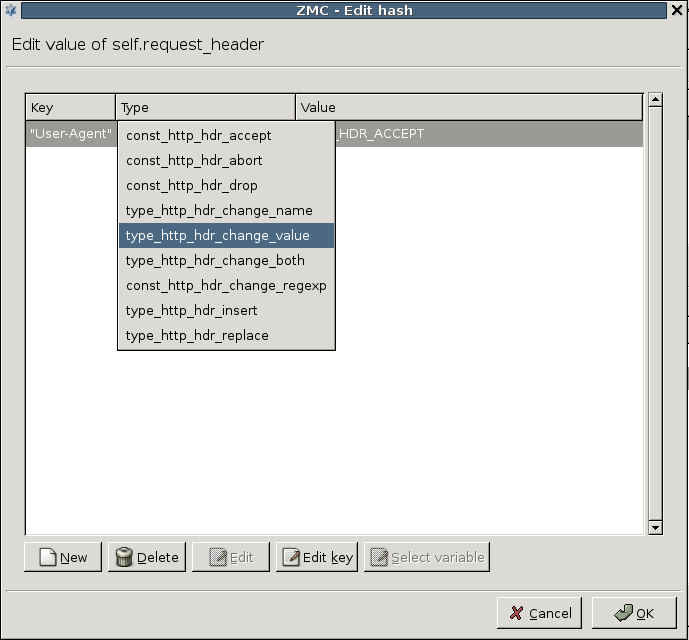
Left-click on the column of the row containing the previously entered
User-Agentstring. A drop-down list appears. Remember, you are changing the value of an existing attribute, so selecttype_http_hdr_change_valuehere which changes the given header values.Click to modify the Value column.
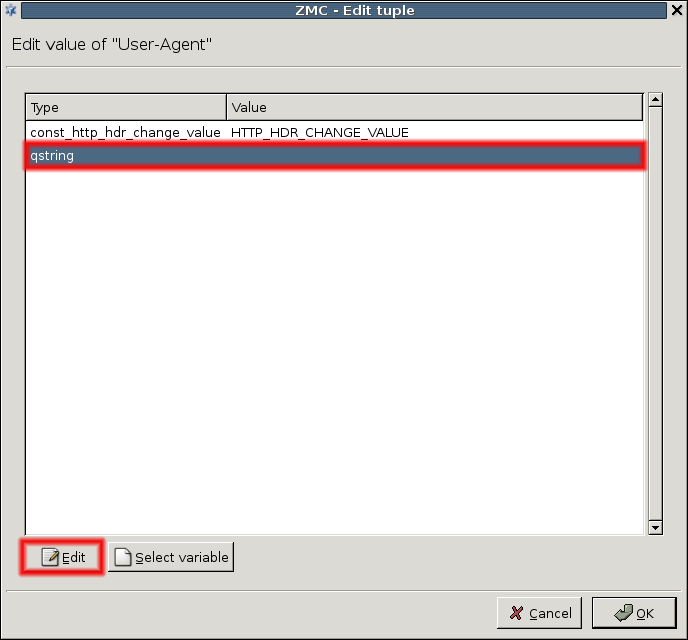
Set the actual value of the
User-Agentrequest header. The following window opens.This window represents another view of the attribute you are modifying now. The Type column of Figure Selecting action type for the attribute is now the first row in this window, while the Value column became the second row here; it is currently empty.
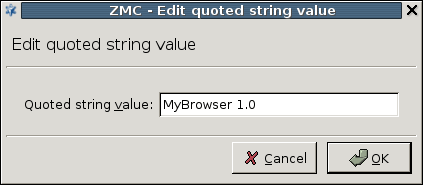
Click to set the Value column and enter a string.
A string can be for example,
My Browser.Note Web servers you visit from now on will see this information as the
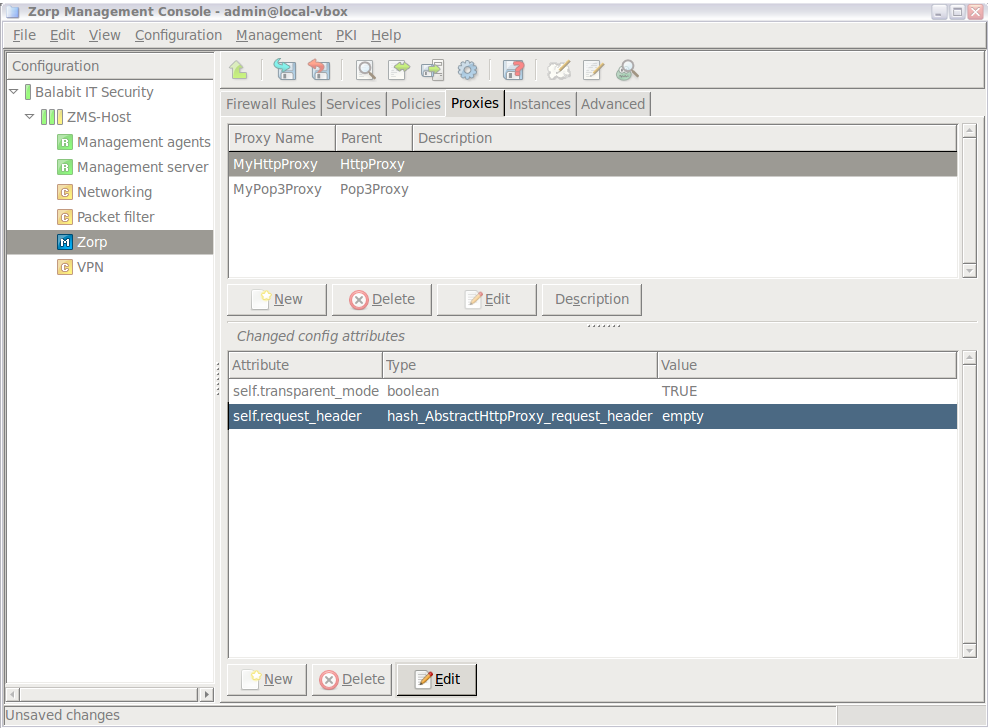
User-Agentheader they receive and may act strangely if they, or the content they serve (Java Servlets, for instance) are not prepared to handle unexpected values inUser-Agentheaders.The process of changing the desired proxy class attribute is complete, you can see the result in the Application-level Gateway class configuration window.
Published on June 04, 2020
© 2007-2019 BalaSys
Send your comments to support@balasys.hu
