
14.2.4.1. Procedure – Configuring communication between PNS proxies and CF
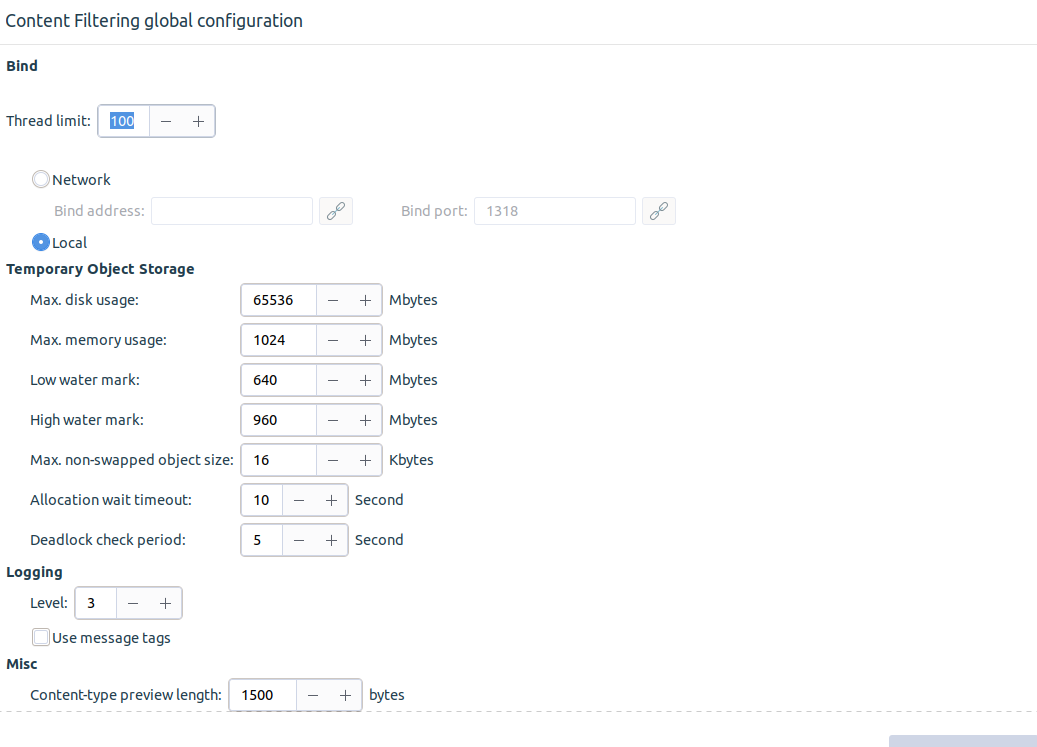
First, the connection settings of CF have to be configured in the section on the tab of the MC component. Specify either the IP address/port pair on which CF should accept connections, or the radiobutton if CF will communicate with PNS through UNIX domain sockets.
Note The same bind settings will have to be used when the Stacking provider is configured in the tab of MC component (see Section 6.7.13, Stacking providers for details). These settings are required because PNS and CF do not necessarily run on the same hosts.
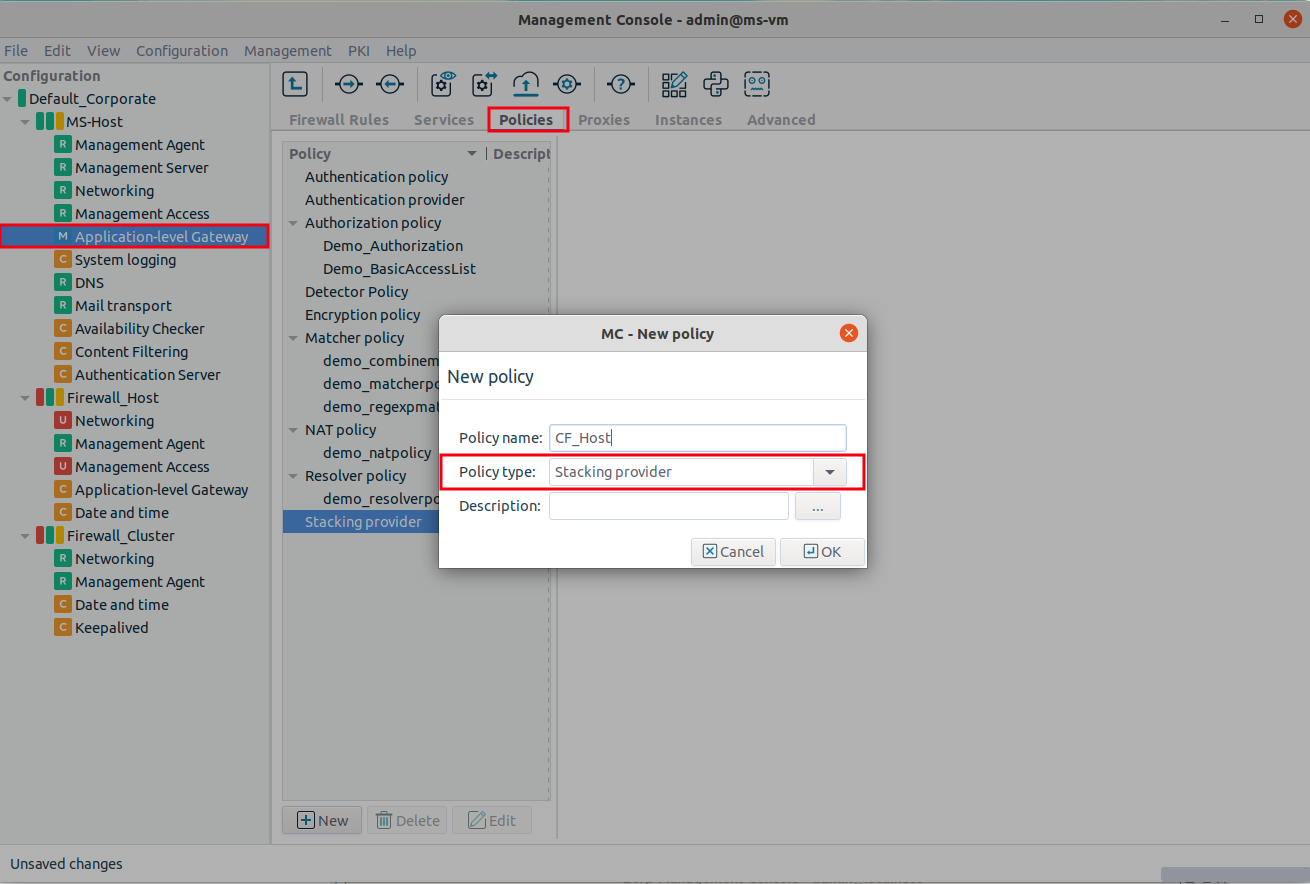
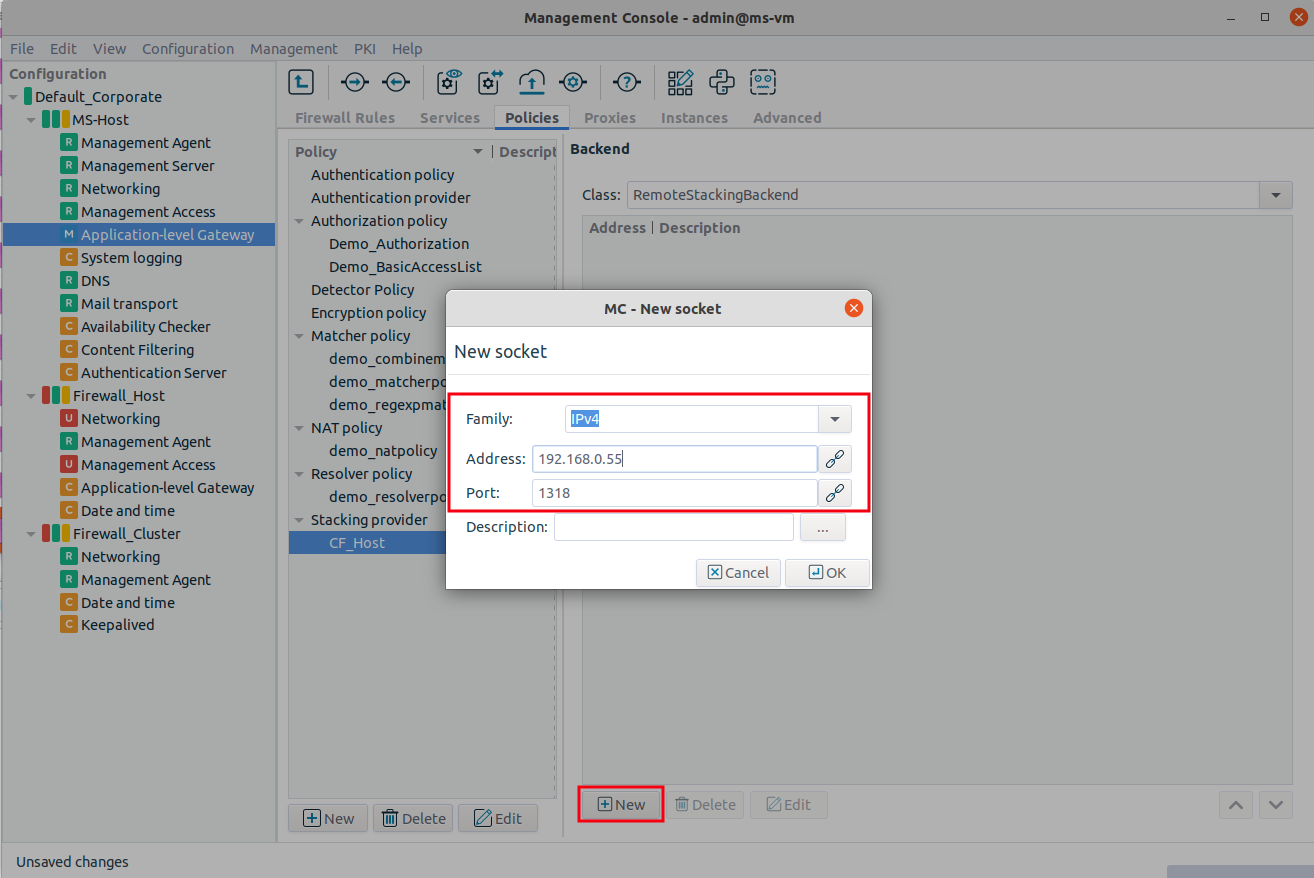
Navigate to the tab of the MC component and create a new Stacking Provider. Specify the same connection settings to this stacking provider as set to CF in the previous step.
Note A Stacking provider can contain the connection parameters (that is, IP/port pair) of multiple CF hosts. If more than one hosts are specified, PNS will automatically balance the load sent to these hosts using the round-robin algorithm.
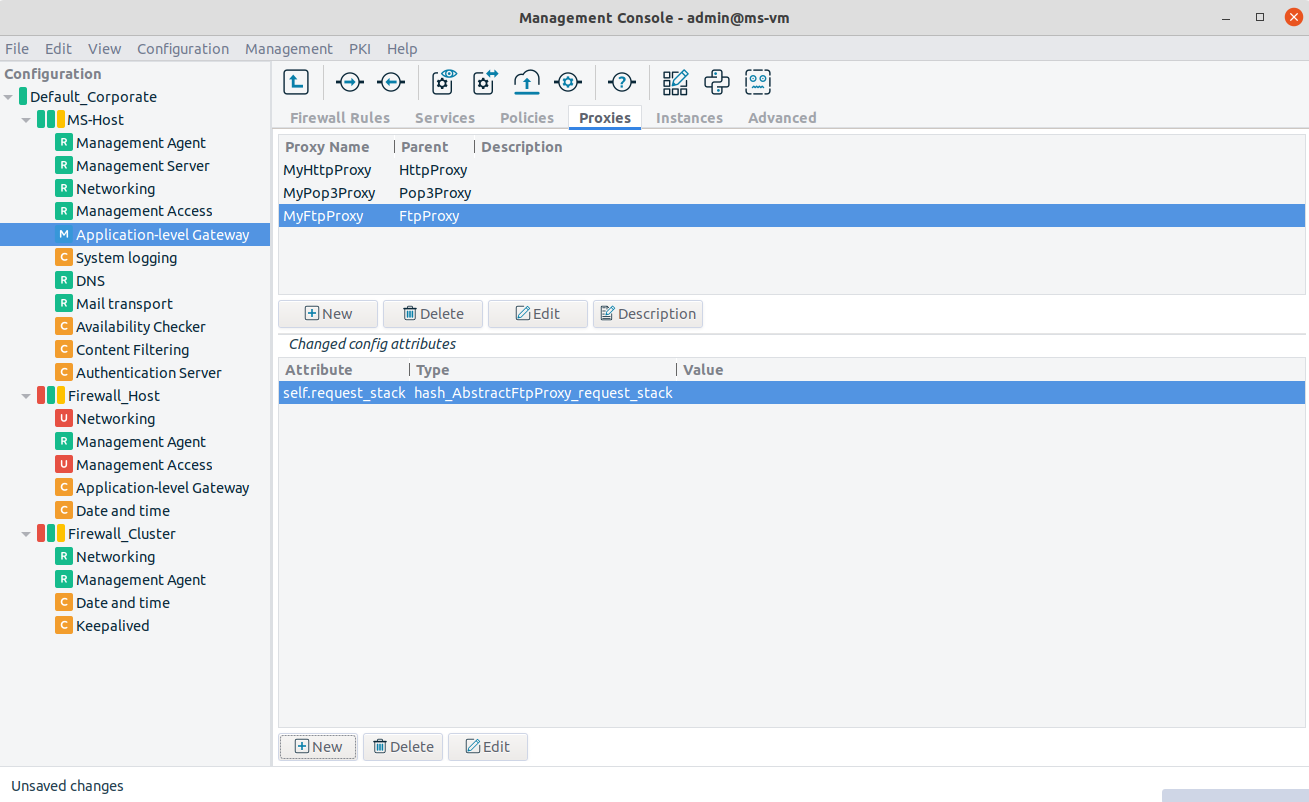
Navigate to the tab of the MC component, and select the proxy class that will send the data to CF for inspection. This can be an existing or a newly derived proxy class (for example,
MyFtpProxy).Add the desired stack attribute of the proxy to the (for example,
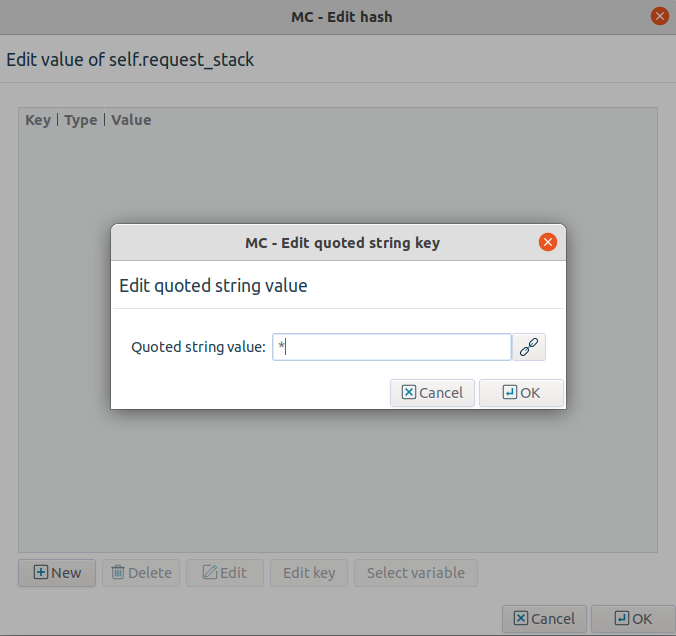
self.request_stack). For details on the stack attributes of the different proxy classes see the description of the proxy class in Chapter 4, Proxies in Proxedo Network Security Suite 2 Reference Guide.Select the stack attribute and click on . Click on , and add a key identifying the element of the particular protocol that should be sent over to CF for inspection (for example, the
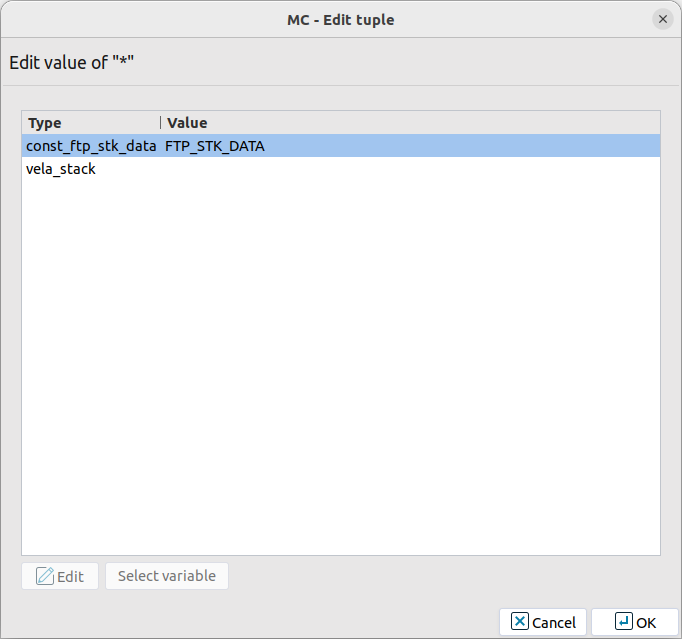
*parameter). For details, see the description of the proxy class in Chapter 4, Proxies in Proxedo Network Security Suite 2 Reference Guide.Enable stacking by setting the attribute to
type_ftp_stk_dataof the key using the combobox of the column, then click .Click on , select the
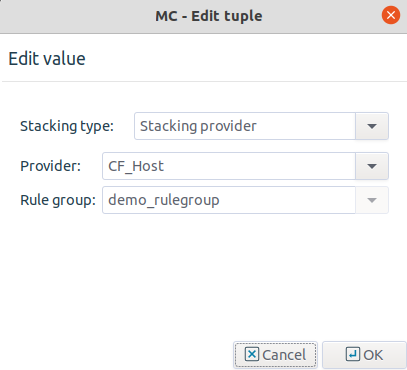
PNS_stackattribute in the appearing window, and click again on .Set to Stacking provider. Select the stacking provider configured in Step 2 from the combobox, and the rule group to be used from the combobox.
Copyright: © 2021 Balasys IT Security
Send your comments to support@balasys.hu
