
16.4.1. Procedure – Configuring SSL connections
Navigate to the VPN component of the PNS host that will be the endpoint of the VPN connection. Select the tab.
Click and enter a name for the connection.
Select the protocol option.
Set the VPN topology in the section.
To create a Roadwarrior server, select the option.
Select the option for other topologies.
Note When creating a Network-to-Network connection, the two endpoints of the VPN tunnel are not used to communicate with each other. To encrypt the communication of the endpoints, create a separate Peer-to-Peer connection.
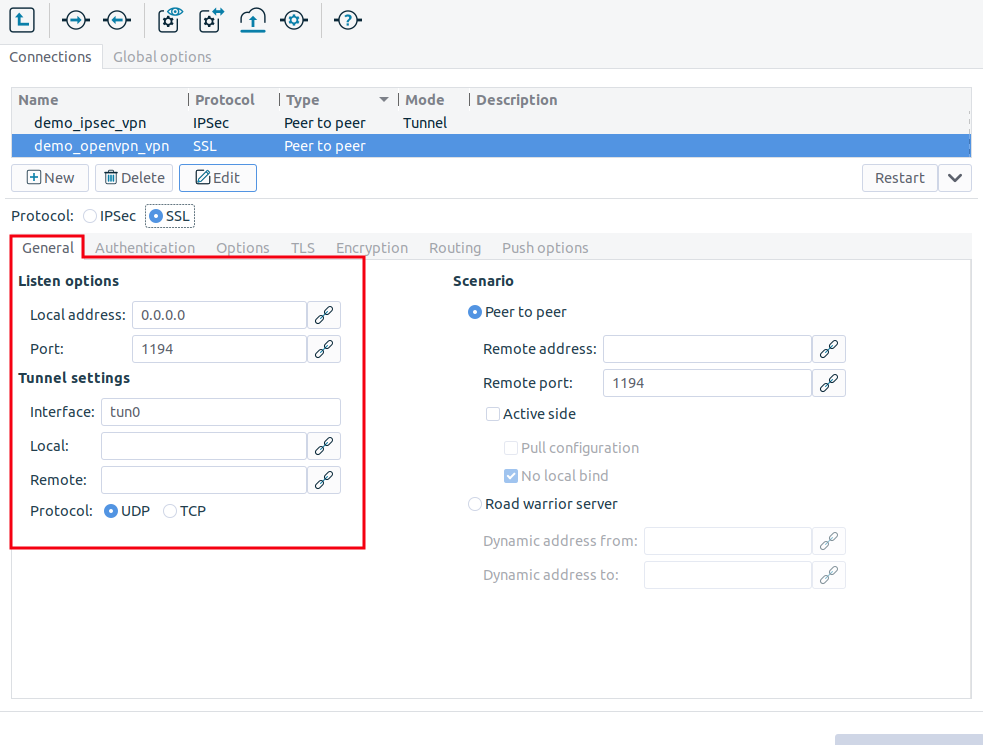
Configure the local networking parameters. These parameters affect the PNS endpoint of the VPN connection.
Set the following parameters in the section:
: Select the IP address that PNS will use for the VPN connection. If PNS should accept incoming VPN connections on every interface, enter the
0.0.0.0IP address.: The port PNS uses to listen for incoming VPN connections. Use the default port (
1194) if nothing restricts that.Note These parameters have no effect if PNS is the client-side of a VPN tunnel and does not accept incoming VPN connections.
Set the following parameters in the section:
: The name of the virtual interface used for the VPN connection. MS automatically assigns the next available interface.
: The IP address of PNS as seen from the VPN tunnel. The
tuninterface will bind to this address, so PNS rules can use this address.: The IP address of the remote endpoint as seen from the VPN tunnel.
By default, the VPN connections use the UDP protocol to communicate with the peers. To use the TCP protocol instead, select .
The and addresses must be non-routable virtual IP addresses (for example, from the
192.168.0 0range). These IP addresses are visible only on thetuninterface, and are needed for building the VPN tunnel.Warning The and addresses must be specified even for roadwarrior scenarios. Use the first two addresses of the dynamic IP range used for the remote clients.
Configure the networking parameters of the remote endpoint.
For Peer-to-Peer scenarios, set the following parameters:
: The IP address of the remote endpoint.
: The port that PNS connects on the remote VPN server. Use the default port (
1194) if nothing restricts that.: Download the configuration from the remote endpoint. (Works only if the remote endpoint has its push options specified.)
: Select this option if the PNS host that you are configuring should run in client-mode only, without accepting incoming VPN connections.
When PNS acts as a roadwarrior server, set the IP address range using the and fields. Clients connecting to PNS will receive their IP addresses from this range.
Note The configured address range cannot contain more than 65535 IP addresses.
Every Windows client needs a
/30netmask (4 IP addresses). Make sure to increase the available address range when you have many Windows clients.When configuring Peer-to-Peer or Network-to-Network connections, select the option so that PNS initiates the VPN connection to the remote endpoint. If possible, enable this option on the remote endpoint as well.
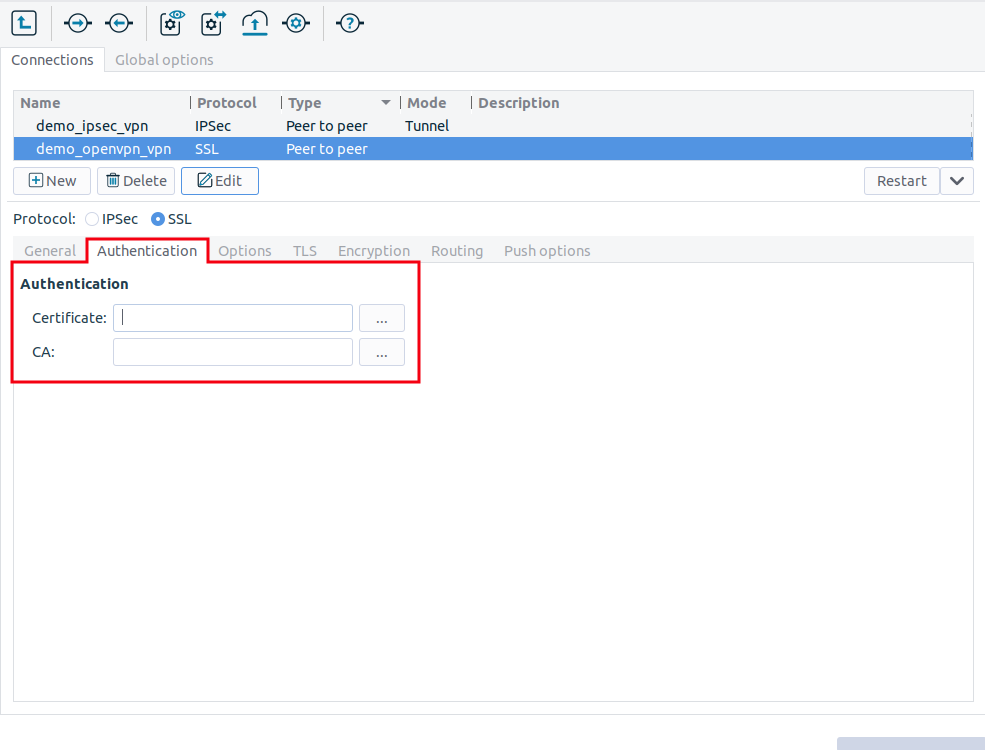
Click on the tab and configure authentication.
Set the following parameters:
: Select a certificate available on the PNS host. PNS will show this certificate to the remote endpoint.
: Select the trusted (Certificate Authority) CA group that includes the certificate of the root CA that issued the certificate of the remote endpoint. PNS will use this CA group to verify the certificate of the remote endpoint.
Warning If several remote endpoints use the same certificate to authenticate, only one of them can be connected to PNS at the same time.
Note See Chapter 11, Key and certificate management in PNS for details on creating and importing certificates, CAs, and trusted CA groups required for certificate-based authentication.
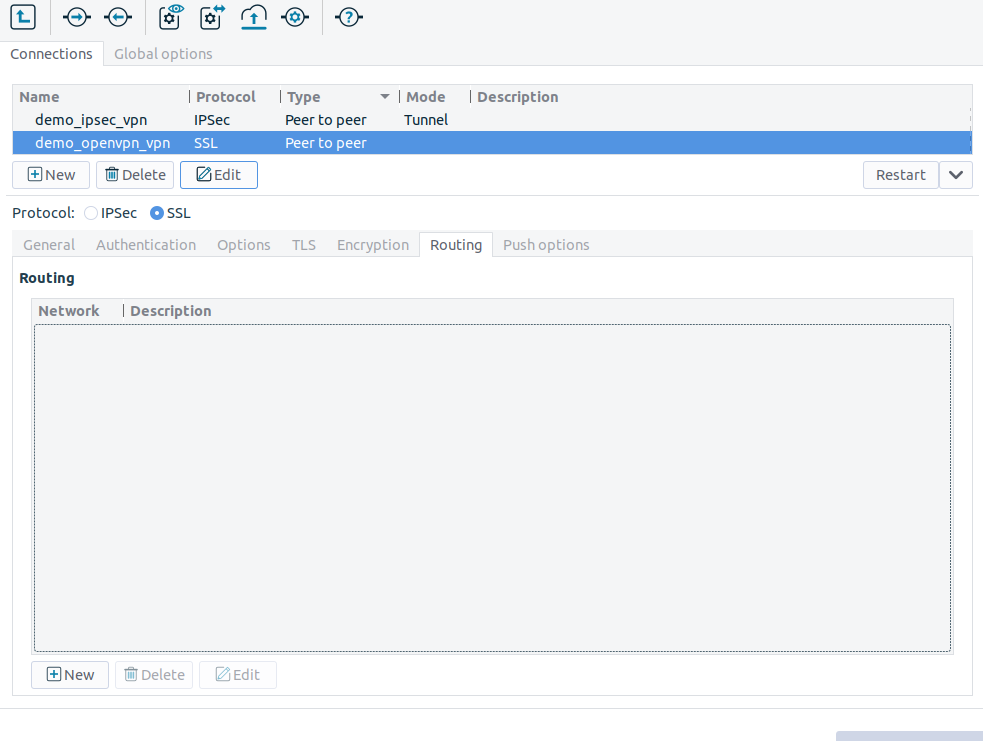
Configure routing for the VPN tunnel. Click on the tab, and add a routing entry for every network that is on the remote end of the VPN tunnel (or located behind the remote endpoint). PNS sends every packet that target these networks through the VPN tunnel. To add a new network, click , and enter the IP address and the netmask of the network.
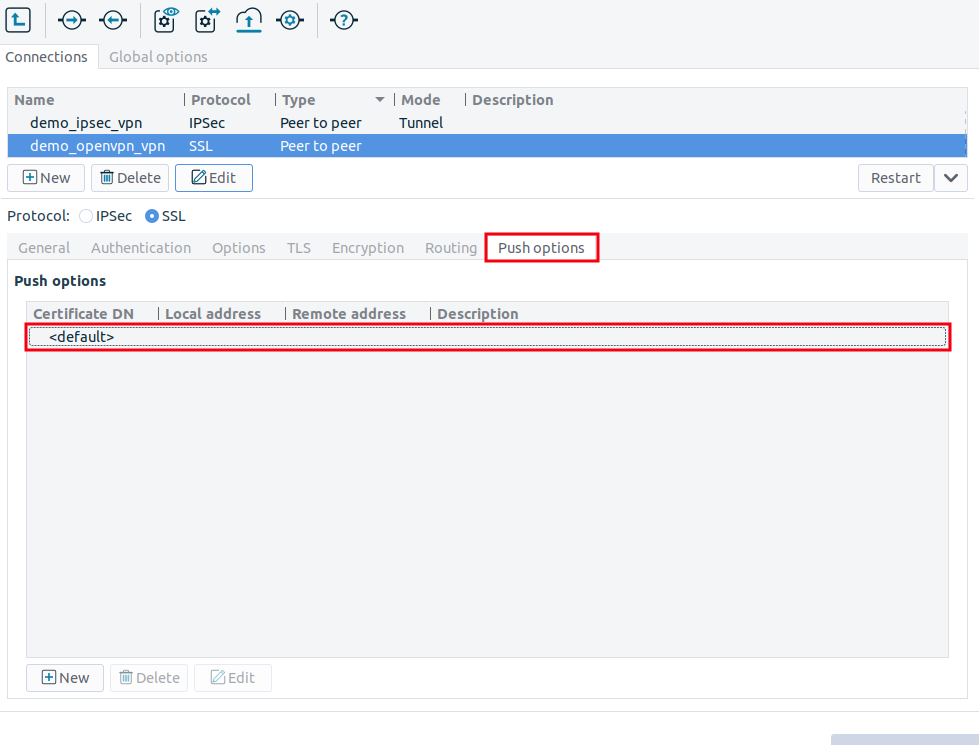
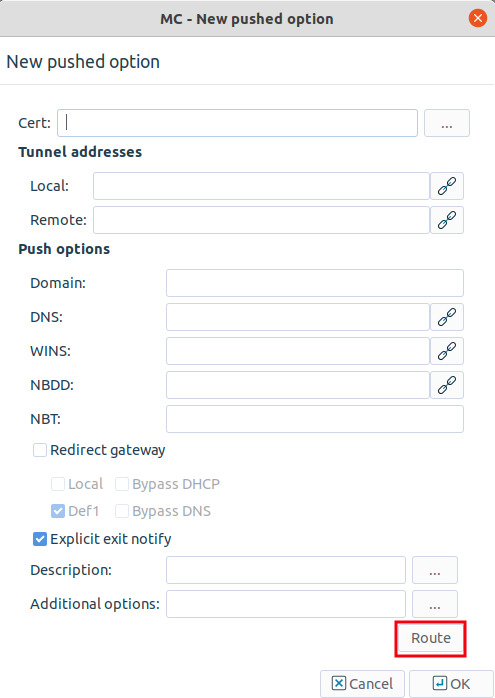
Configure push options on the tab.
Tip Push options are most often used to set the configuration of roadwarrior clients. For example, it can be used to assign a fix IP address to a specific client.
Click to add routing entries for the remote endpoint. These routing entries determine which networks protected by PNS are accessible from the remote endpoint.
See Section 16.4.2.2, Push options for details.
Set other options as needed. See Section 16.4.2, SSL options for details.


Copyright: © 2021 Balasys IT Security
Send your comments to support@balasys.hu
