
15.3.2.2. Procedure – Configuring PNS Authentication policies
Create an on the tab of the MC component. Click on , select from the combobox, and enter a name for the policy into the textbox.
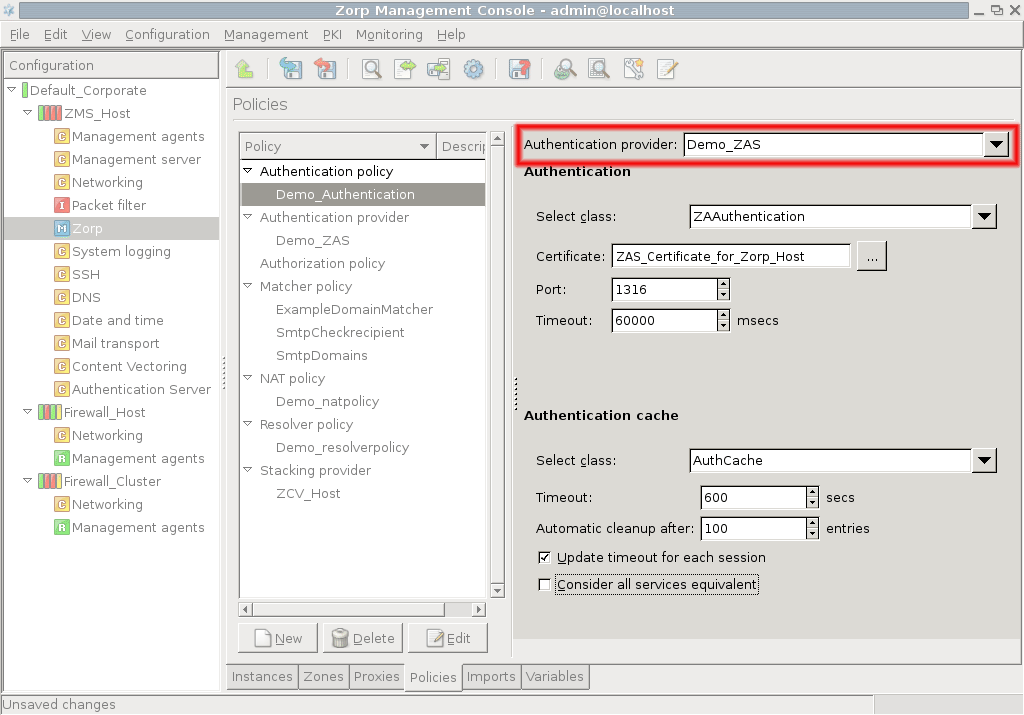
Select the combobox by clicking and selecting a provider.
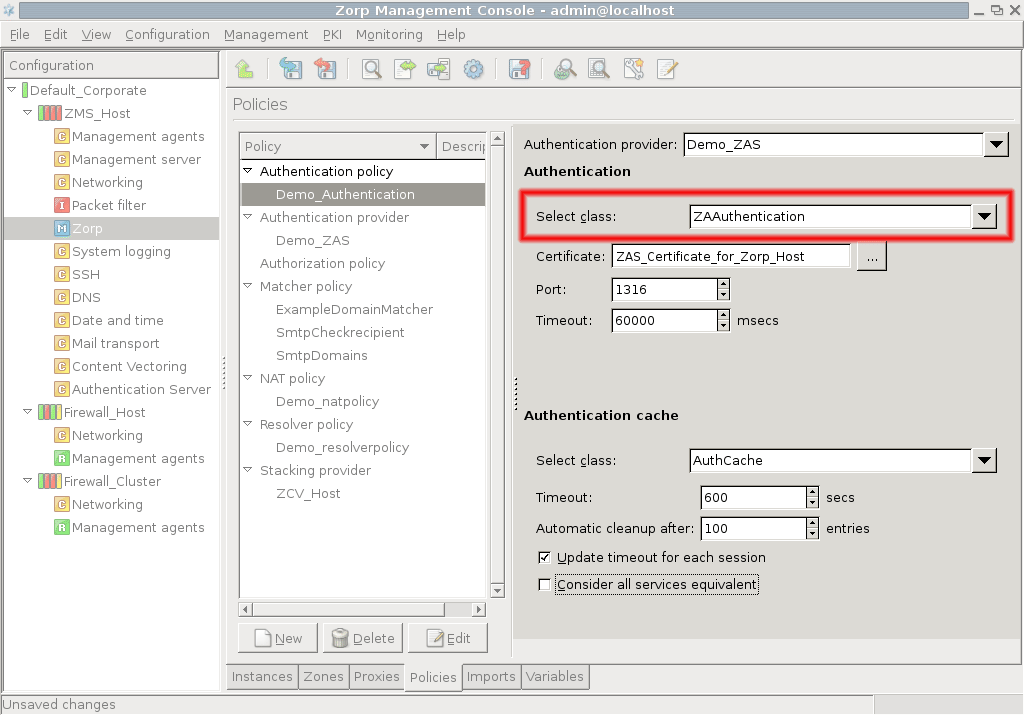
Select the type of authentication to be used from the combobox. The following authentication types are available:
: Use the built-in authentication of the protocol to authenticate the client on PNS.
: (Also called Satyr authentication in previous versions). Outband authentication using the Authentication Agent. This method can authenticate any protocol. For agent authentication the following additional parameters have to be set:
: Select the certificate that PNS will show to the authentication agent running on the client. The certificate is required because the communication between the authentication agent and PNS is SSL-encrypted. The certificate has to be issued by a CA trusted by the authentication agent. The process of installing CA certificates for the authentication agent is described in Chapter 6, Installing the Authentication Agent (AA) in Proxedo Network Security Suite 1.0 Installation Guide.
: The port where PNS accepts connections from the authentication agents running on the clients.
: The period of time the client has to complete the authentication after an authentication request is sent by PNS.
: Enable the client to connect to the target server, and extract its authentication information from the protocol.
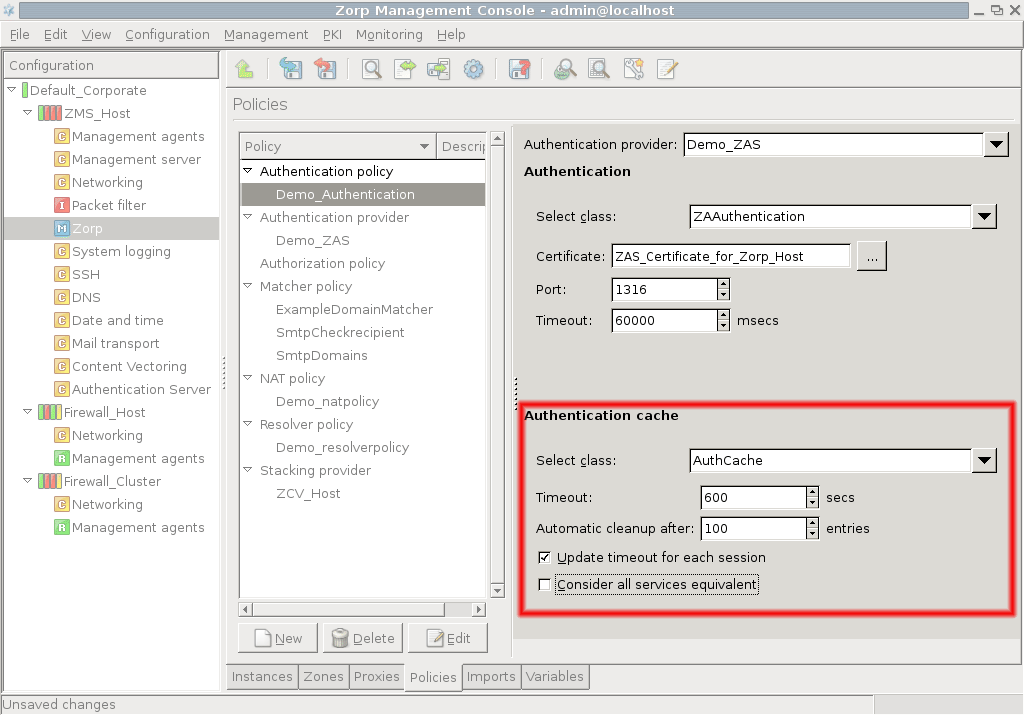
Configure the authentication cache using the combobox of the section. The following options are available:
: Disable authentication caching. The client has to re-authenticate each time when starting a new service.
: Store the results of the authentication for the period specified in the field, that is, after a successful authentication the client can use the service (and start new ones of the same type) for that period. for example, once authenticated for an HTTP service, the client can browse the web for period, but has to authenticate again to use FTP.
If the checkbox is selected, timeout measuring is restarted each time the client starts service. Selecting the checkbox means that PNS does not make difference between the different services (protocols) used by the client, after a successful authentication he can use all available services without having to re-authenticate himself. for example, if this option is enabled in the example above, the client does not have to re-authenticate for starting an FTP connection.

Published on June 04, 2020
© 2007-2019 BalaSys
Send your comments to support@balasys.hu
