
6.1.1. Procedure – Installing the Zorp Authentication Agent on Microsoft Windows
Purpose:
The Zorp Authentication Agent (ZAA) installer is located in the \windows\satyr\ folder of the Zorp CD-ROM, its latest version is also available from the Balasys website.
The following Zorp Authentication Agent installer options are available:
/S Silent mode
/D=[path] Set target path
/NO_VCREDIST Do not check/install Visual Studio Redistributable
/log-mpxd=[yes|no] Enable debug logging of AA multiplexer daemon
/log-client=[yes|no] Enable debig logging of AA client
Steps:
Place the Zorp CD-ROM into the CD drive and start the
satyr-setup.exefile located in the\windows\satyr\folder.Warning Administrator privileges are required to install the application.
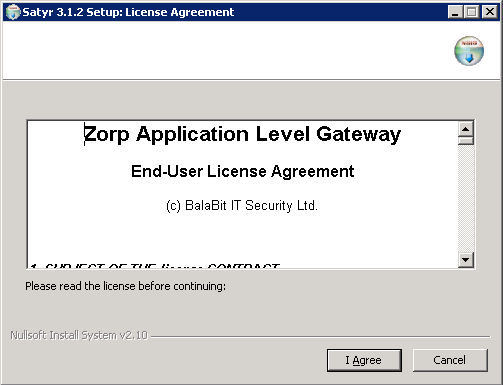
Click to accept the End-User License Agreement, which is displayed after the installer starts. To cancel the installation at any time during the process, click .
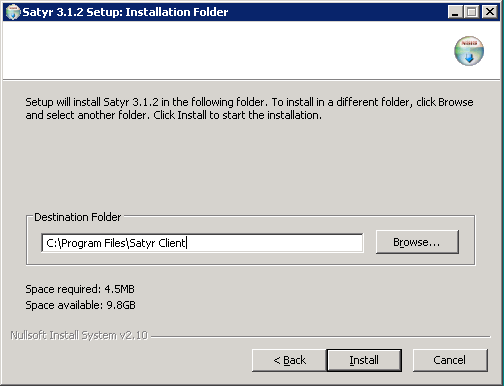
Select the destination folder for the application and click . The default folder in the 64-bit version of Windows is
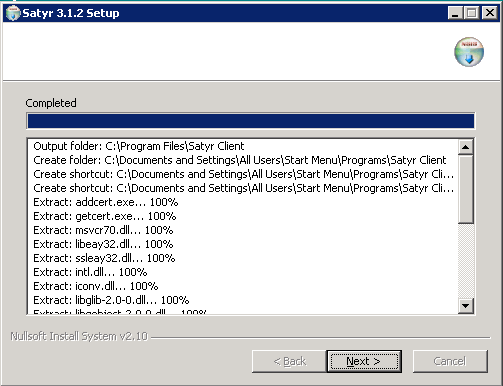
C:\Program Files (x86)\Satyr Client(in the 32-bit version of Windows, it isC:\Program Files\Satyr Client).Click to display details about the copied files. The installer copies the required files and registers the service called , which is started after the registration.
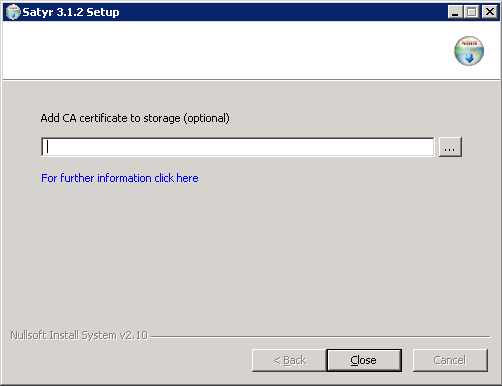
Optional step: Click , select the CA certificate to import, then click to import the CA certificate.
Note For authentication purposes, when Zorp communicates with ZAA, ZAA expects TLS-encrypted communication. For details, see section Section 4.1.1, Registry entries on Microsoft Windows platforms in Zorp Authentication Agent Manual and section Section 4.1, Configuring Zorp Authentication Agent on Microsoft Windows platforms in Zorp Authentication Agent Manual.
If the Zorp Authentication Agent and Zorp communicate through an SSL-encrypted channel (recommended), the certificate of the Certificate Authority (CA) signing the certificates of the Zorp firewalls can be imported to the Zorp Authentication Agent.
Note The CA certificate has to be in
DERformat. It is not necessary to import the certificate during the installation, it can also be done later. For details about encrypting the agent-Zorp authentication, see Section 4.1.3, Configuring SSL connections on Microsoft Windows platforms in Zorp Authentication Agent Manual.After the installer has completed the above steps, click .
The Zorp Authentication Agent (ZAA) logo is displayed on the system tray, indicating that the application is running. It is also started automatically after each Windows startup.
Published on May 30, 2024
© BalaSys IT Ltd.
Send your comments to support@balasys.hu
