
Choose the proper URL filter proxy under Zorp component → Proxies tab.
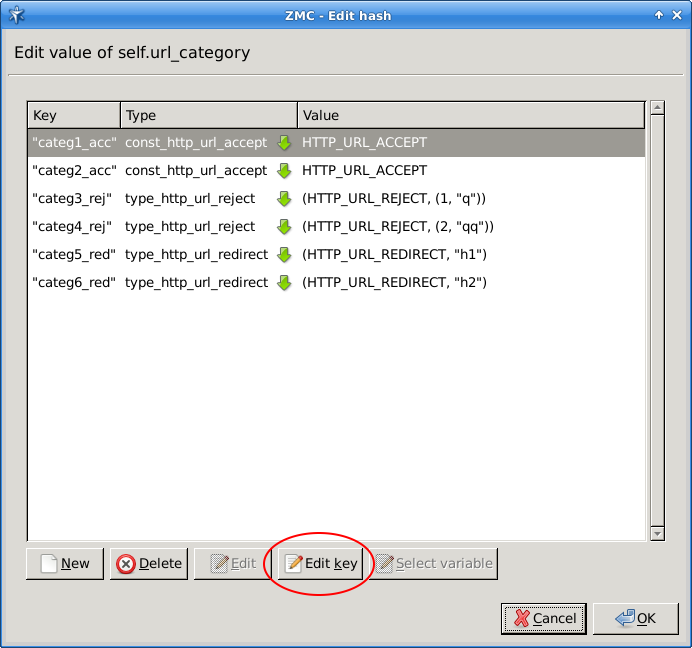
Edit the self.url_category under the Attribute column of the menu item.
You can find the filter categories from the previous version of the URL filter under the Key menu item. These items now belong to the 'uncategorized' group category.
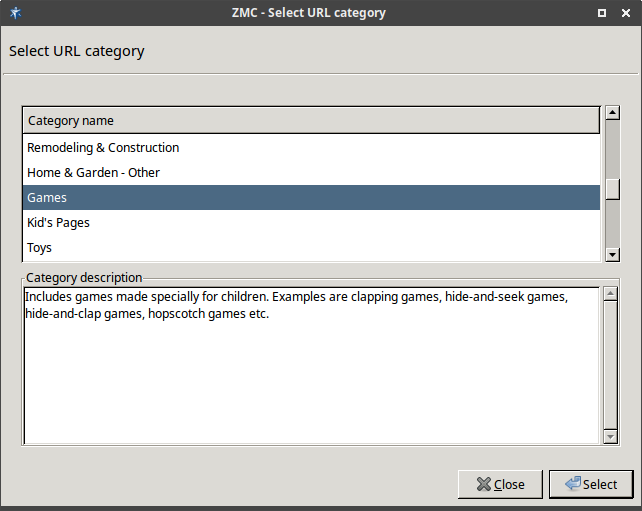
Click the Edit key button and the selection menu of the new filter categories will be displayed:
Choose the new filter category corresponding to the old one, from the list.
For finding the corresponding filter categories, see the document, listing the new filter categories in the Appendix of this document. It is not necessary to change all the filter categories at once. The remaining elements will still remain as 'uncategorized' elements in the background.
While searching for the filter categories, it might be helpful to use the Ctrl + F key combination. Alternatively, when starting typing, the findings matching the first keystrokes will pop up in a list of highlights. Among these highlighted matches we can choose with the 'up' and 'down' arrows.
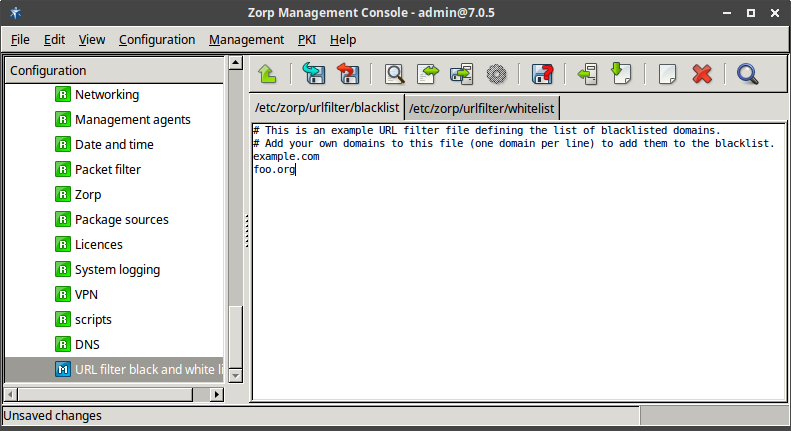
Create a blacklist and whitelist if necessary. From Zorp Gateway version 7.0.5, this can be achieved with the help of a free text editor, on the
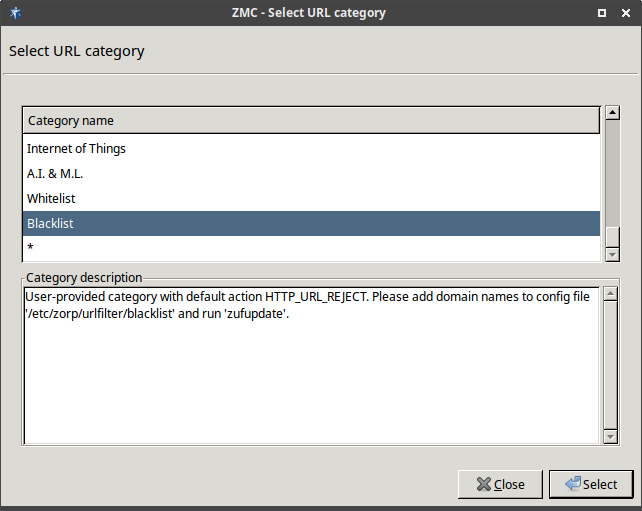
Zorp Node → New → Text editor → URL filter black and whitelistspath.The choices for blacklist, whitelist or * options are also added the URL category list:
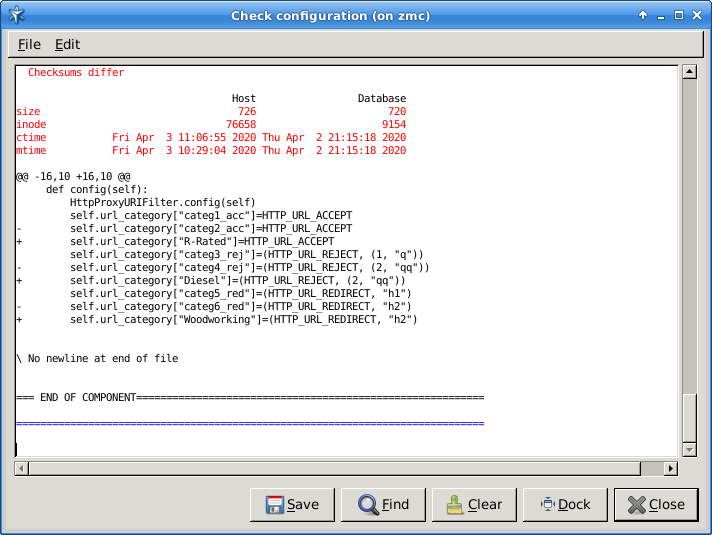
After clicking the Commit button, validate the changes with the Check configuration option.
The update of the URL filter database is performed by the
zavupdatecommand, run by the cron job, every day at 11 pm by default. Use the same login name and password necessary for accessing the apt repo. All these ensure a solution that can be updated more easily.

Published on May 30, 2024
© BalaSys IT Ltd.
Send your comments to support@balasys.hu
